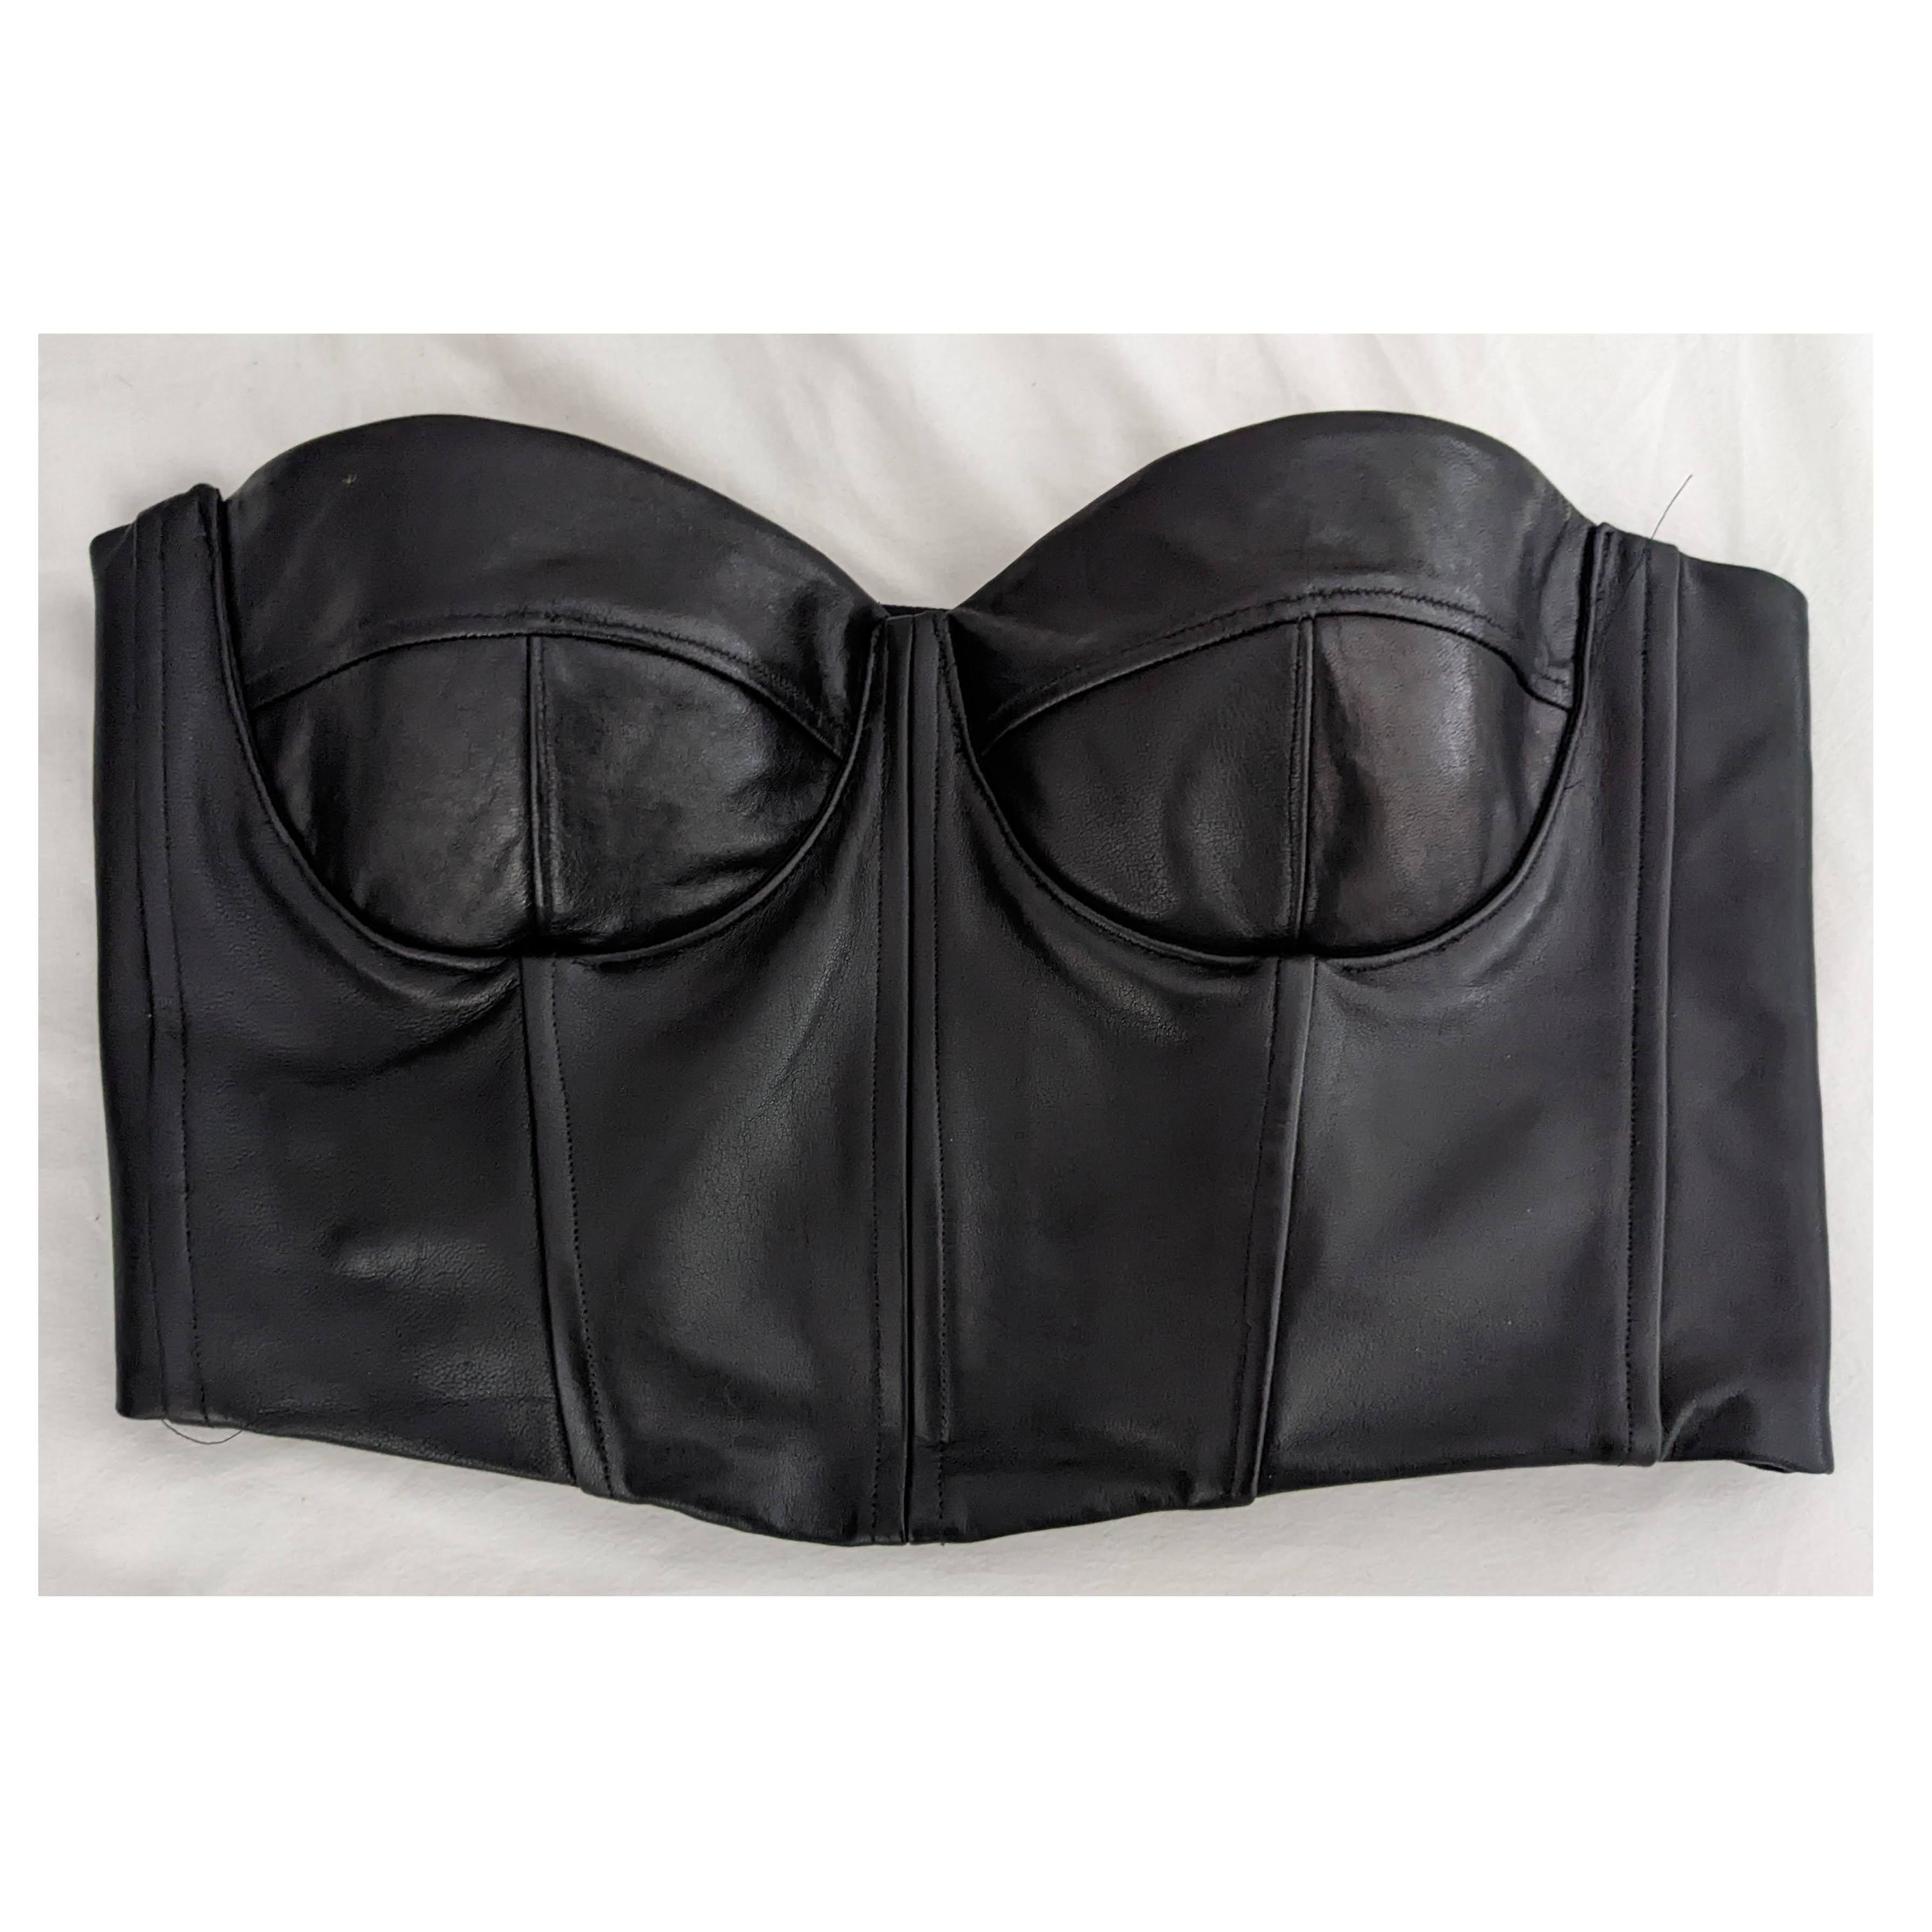
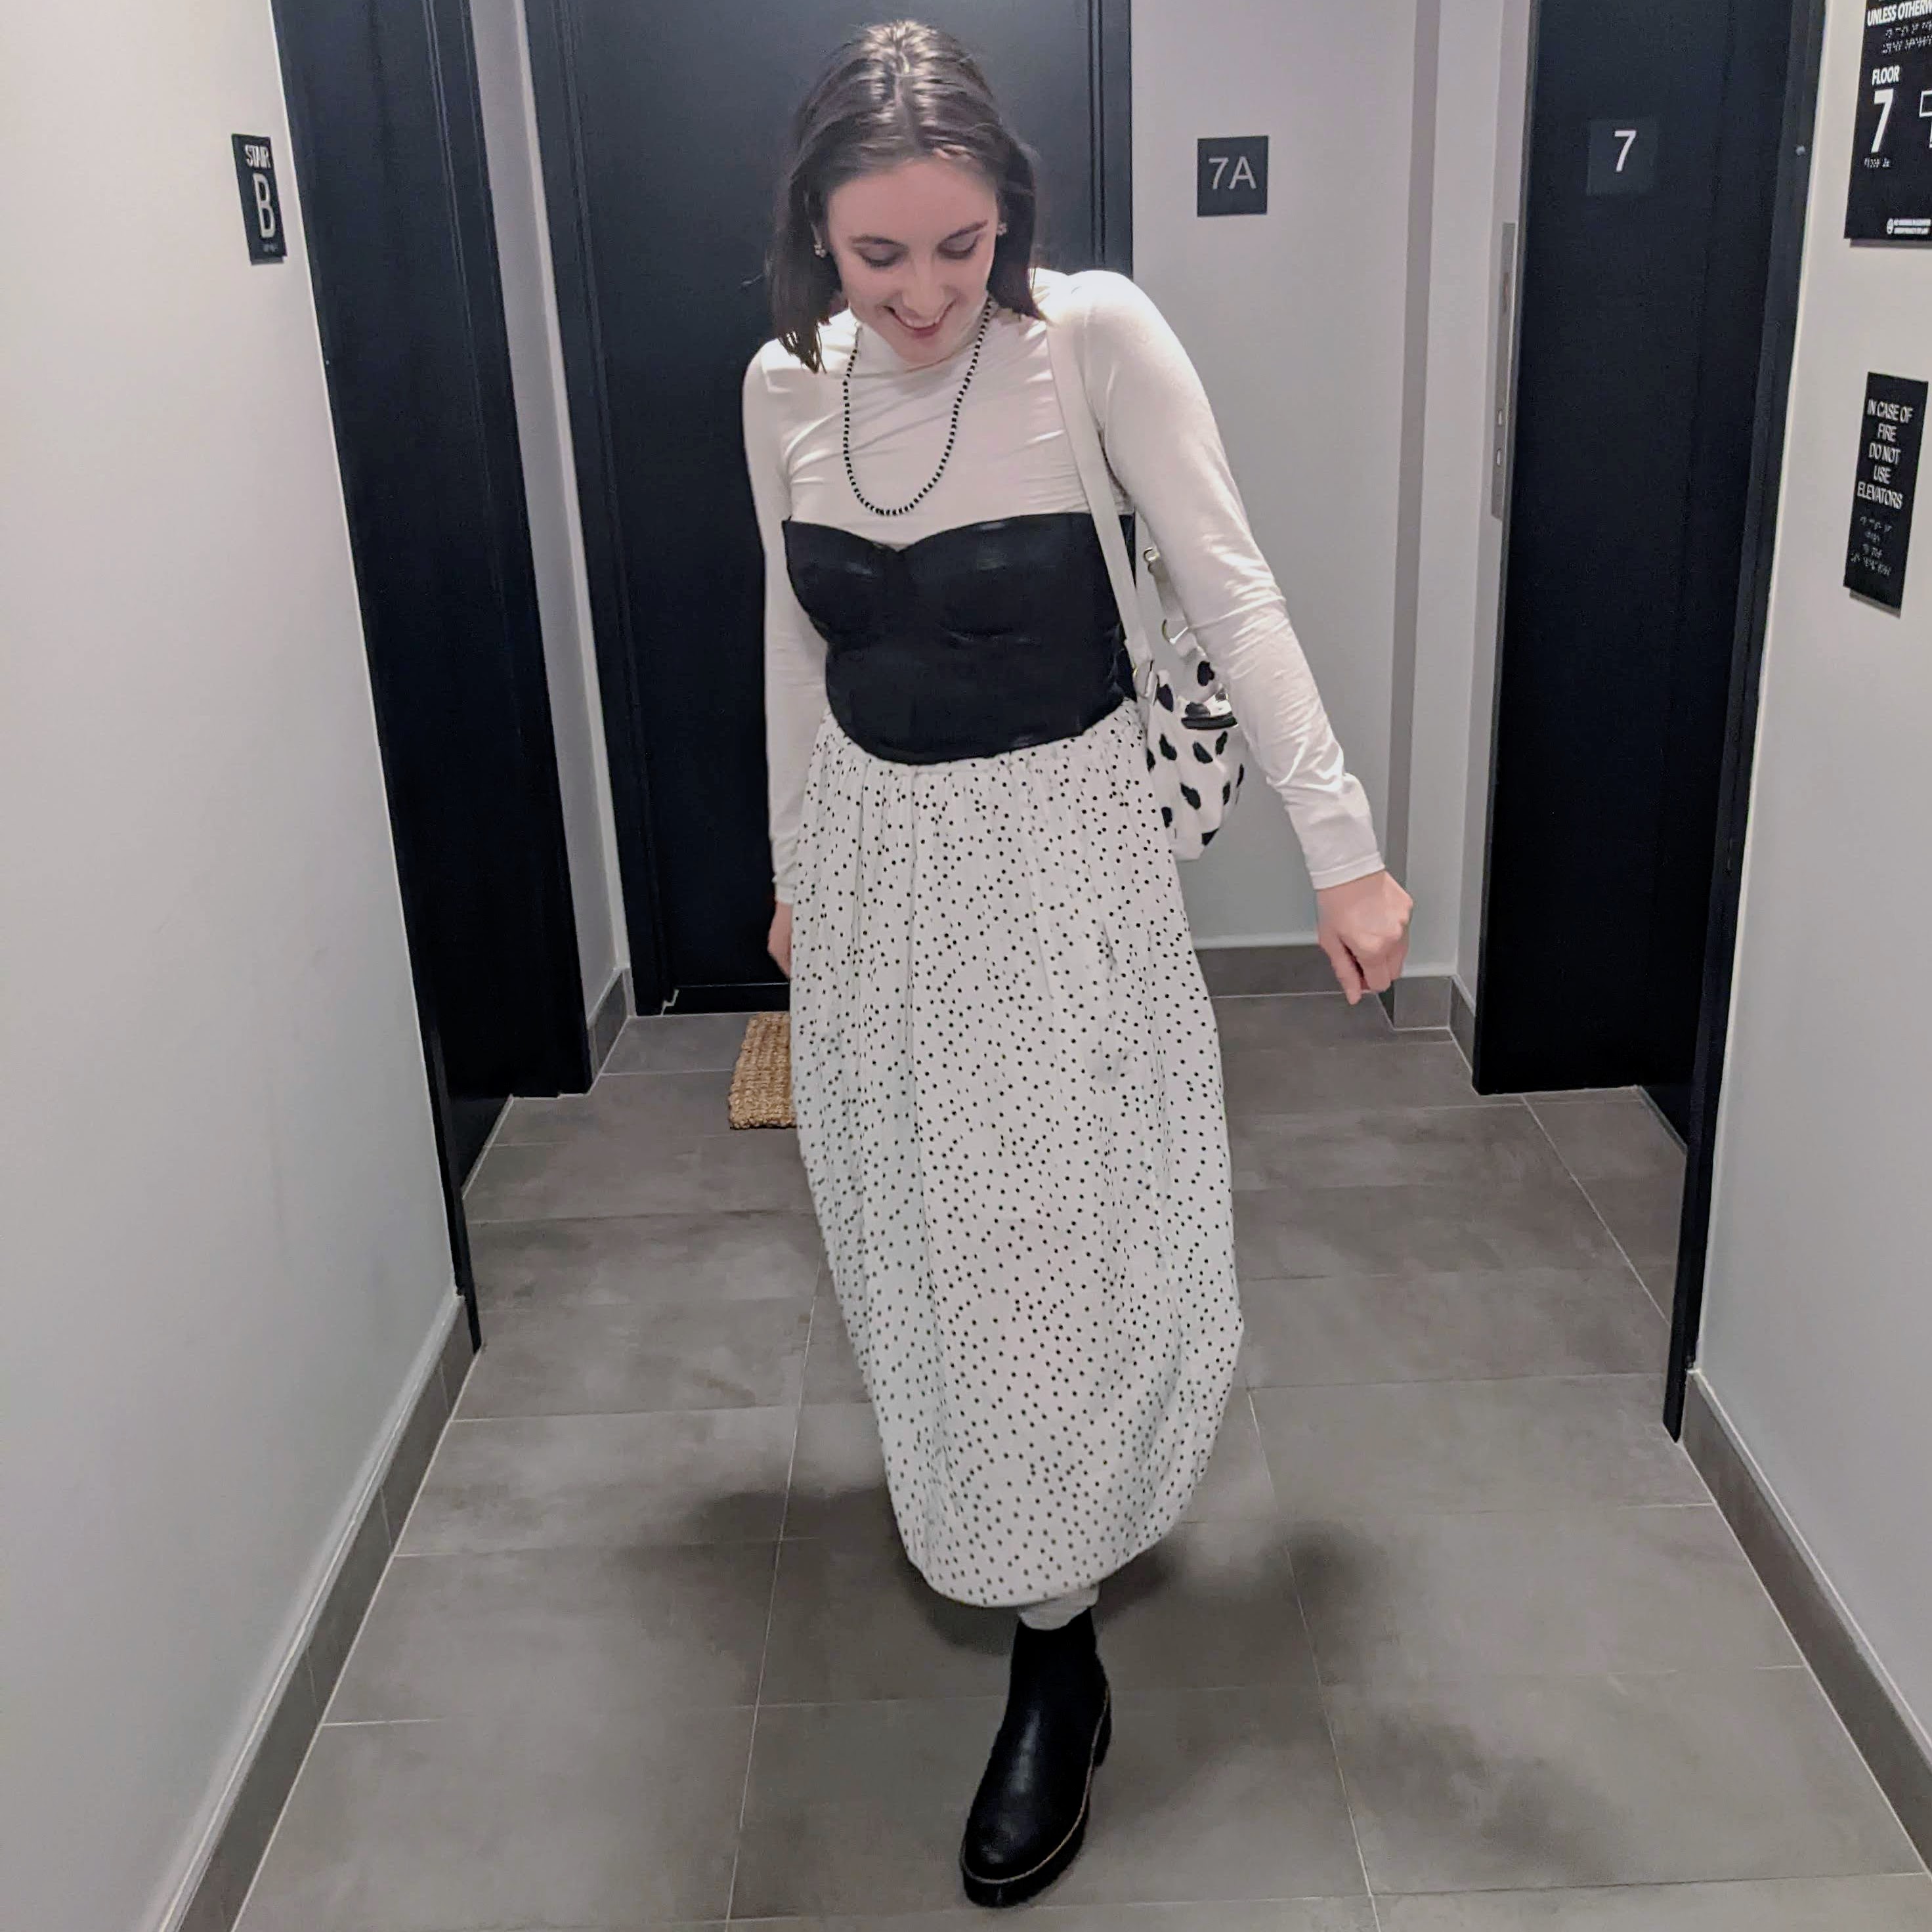
I worked with leather for the first time and it was great!
I sewed a black leather bustier on my home sewing machine . I’m going to share some tips I found/general resources for sewing the Rose Cafe Bustier and working with leather.
I just finished up a 6-week shoemaking class where I worked with leather for the first time. I learned how to mark out a pattern, how to cut leather, and that it can be okay for leather to take a teeeeny bit of heat/steam when needed. Shoemaking ≠ Garment making, but it gave me the confidence to try working with leather at home!
I spent a lot of time fitting the Rose Cafe Bustier over the summer in preparation for sewing a July wedding guest dress for my friend’s wedding. The fit in the cups still isn’t perfect for me, but it works! This post doesn’t focus on those alterations, but hopefully a follow-up post will :)
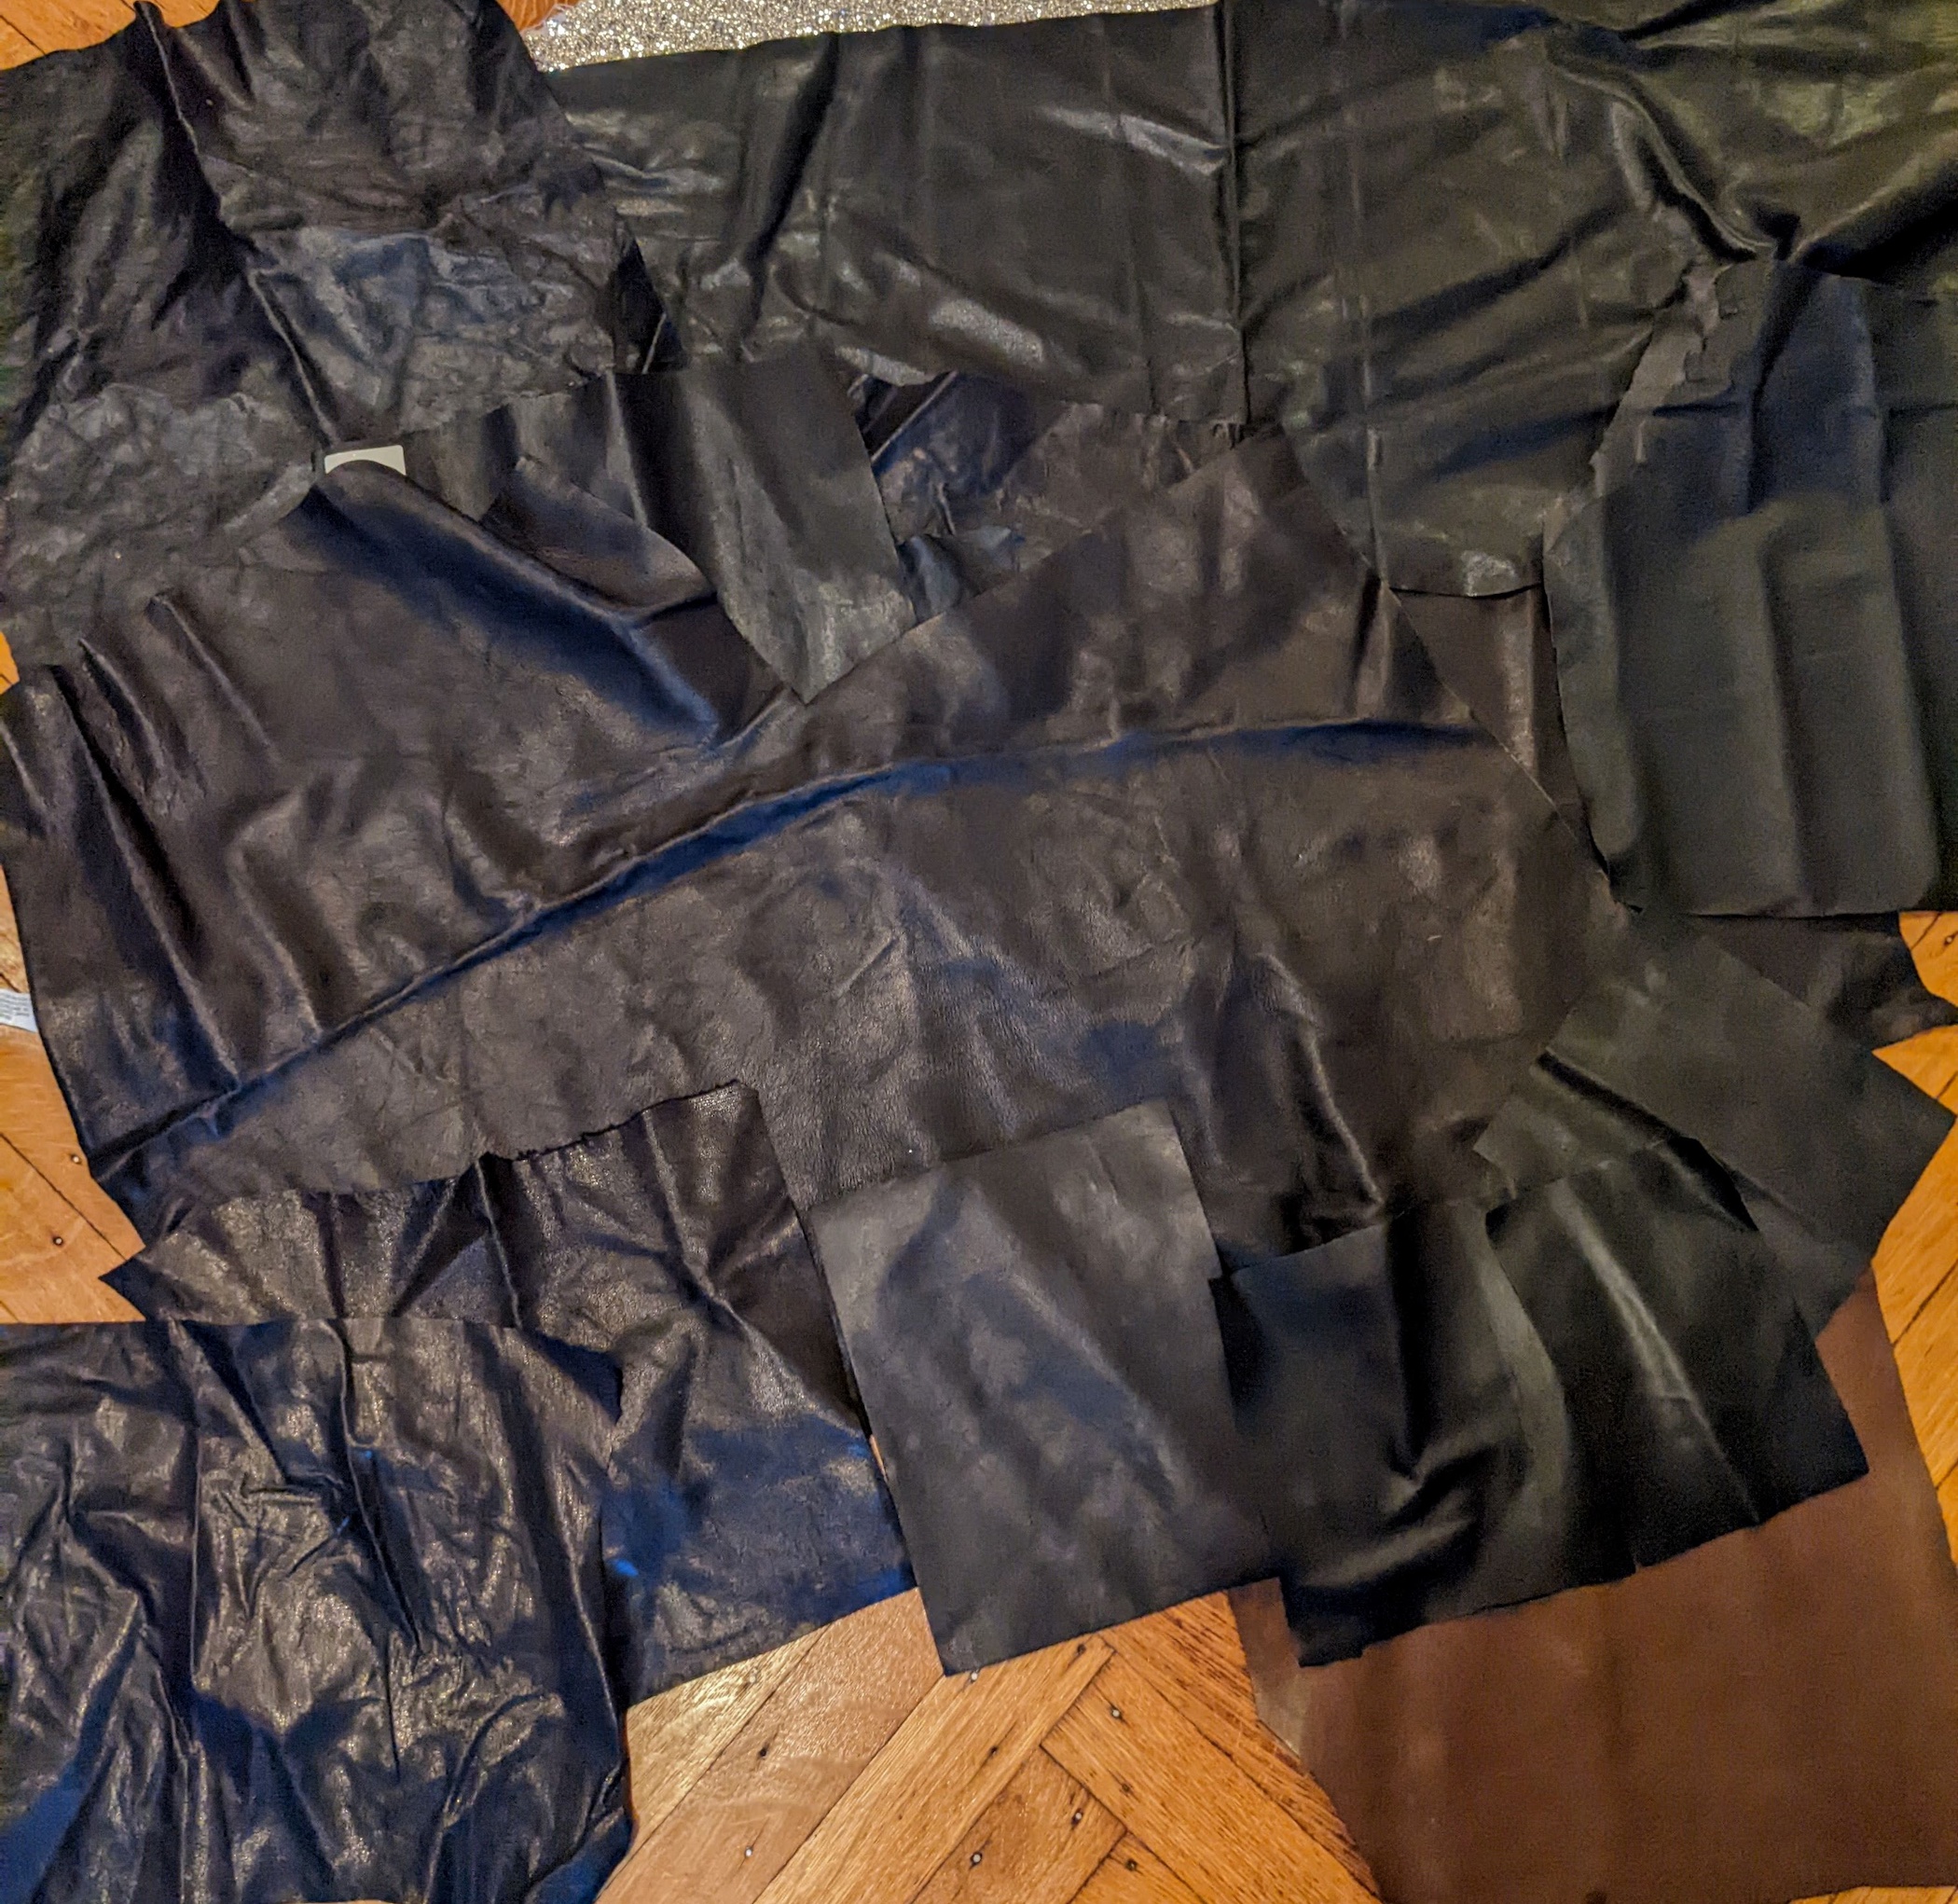
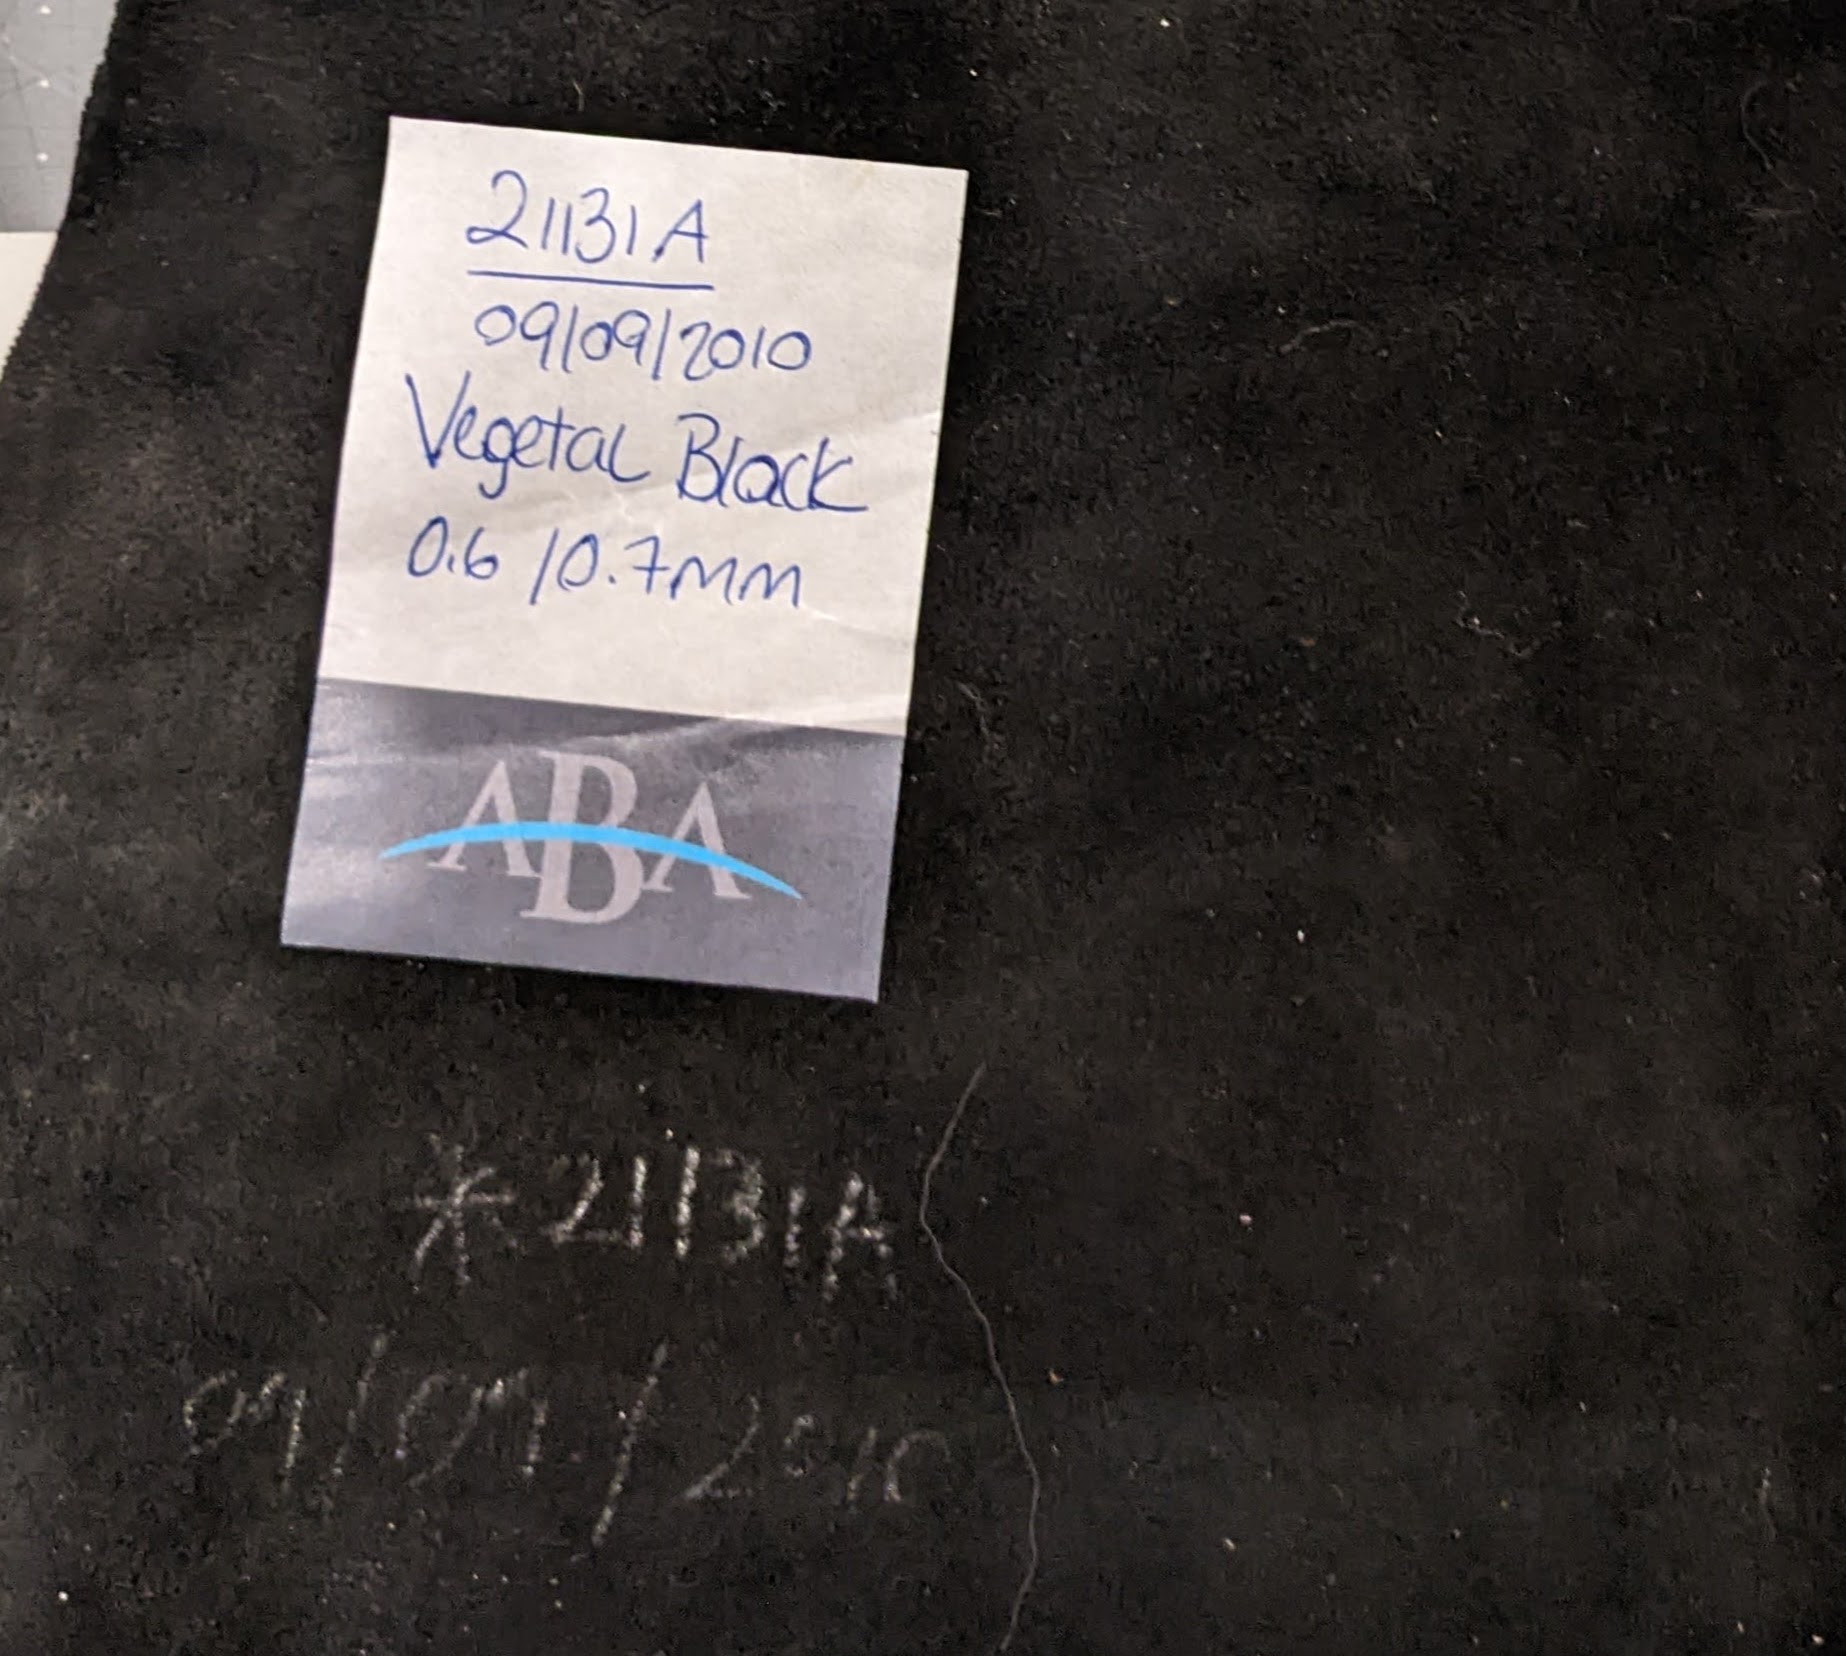
I sourced my leather from FabScrap, where I volunteered with a very dear very kind friend who doesn’t sew but cares about textile waste/thrifting. This angel of a friend combined her 5 pounds of free fabric with mine and together we dug through the bin of leather scraps to take home all the black pieces we could find! Starting out with scraps felt like an easier way to start a first project working with leather The leather I used was labeled “Vegetal Black 0.6/0.7 mm” which I think says how thick it is? (I am still new to this!) It had some drape/flexibility to it.
I followed Daria's “Boned Bustier with Foam Cups” tutorial to add foam cups and boning. The boning helped give the leather some extra structure.
{Prepping the pieces}
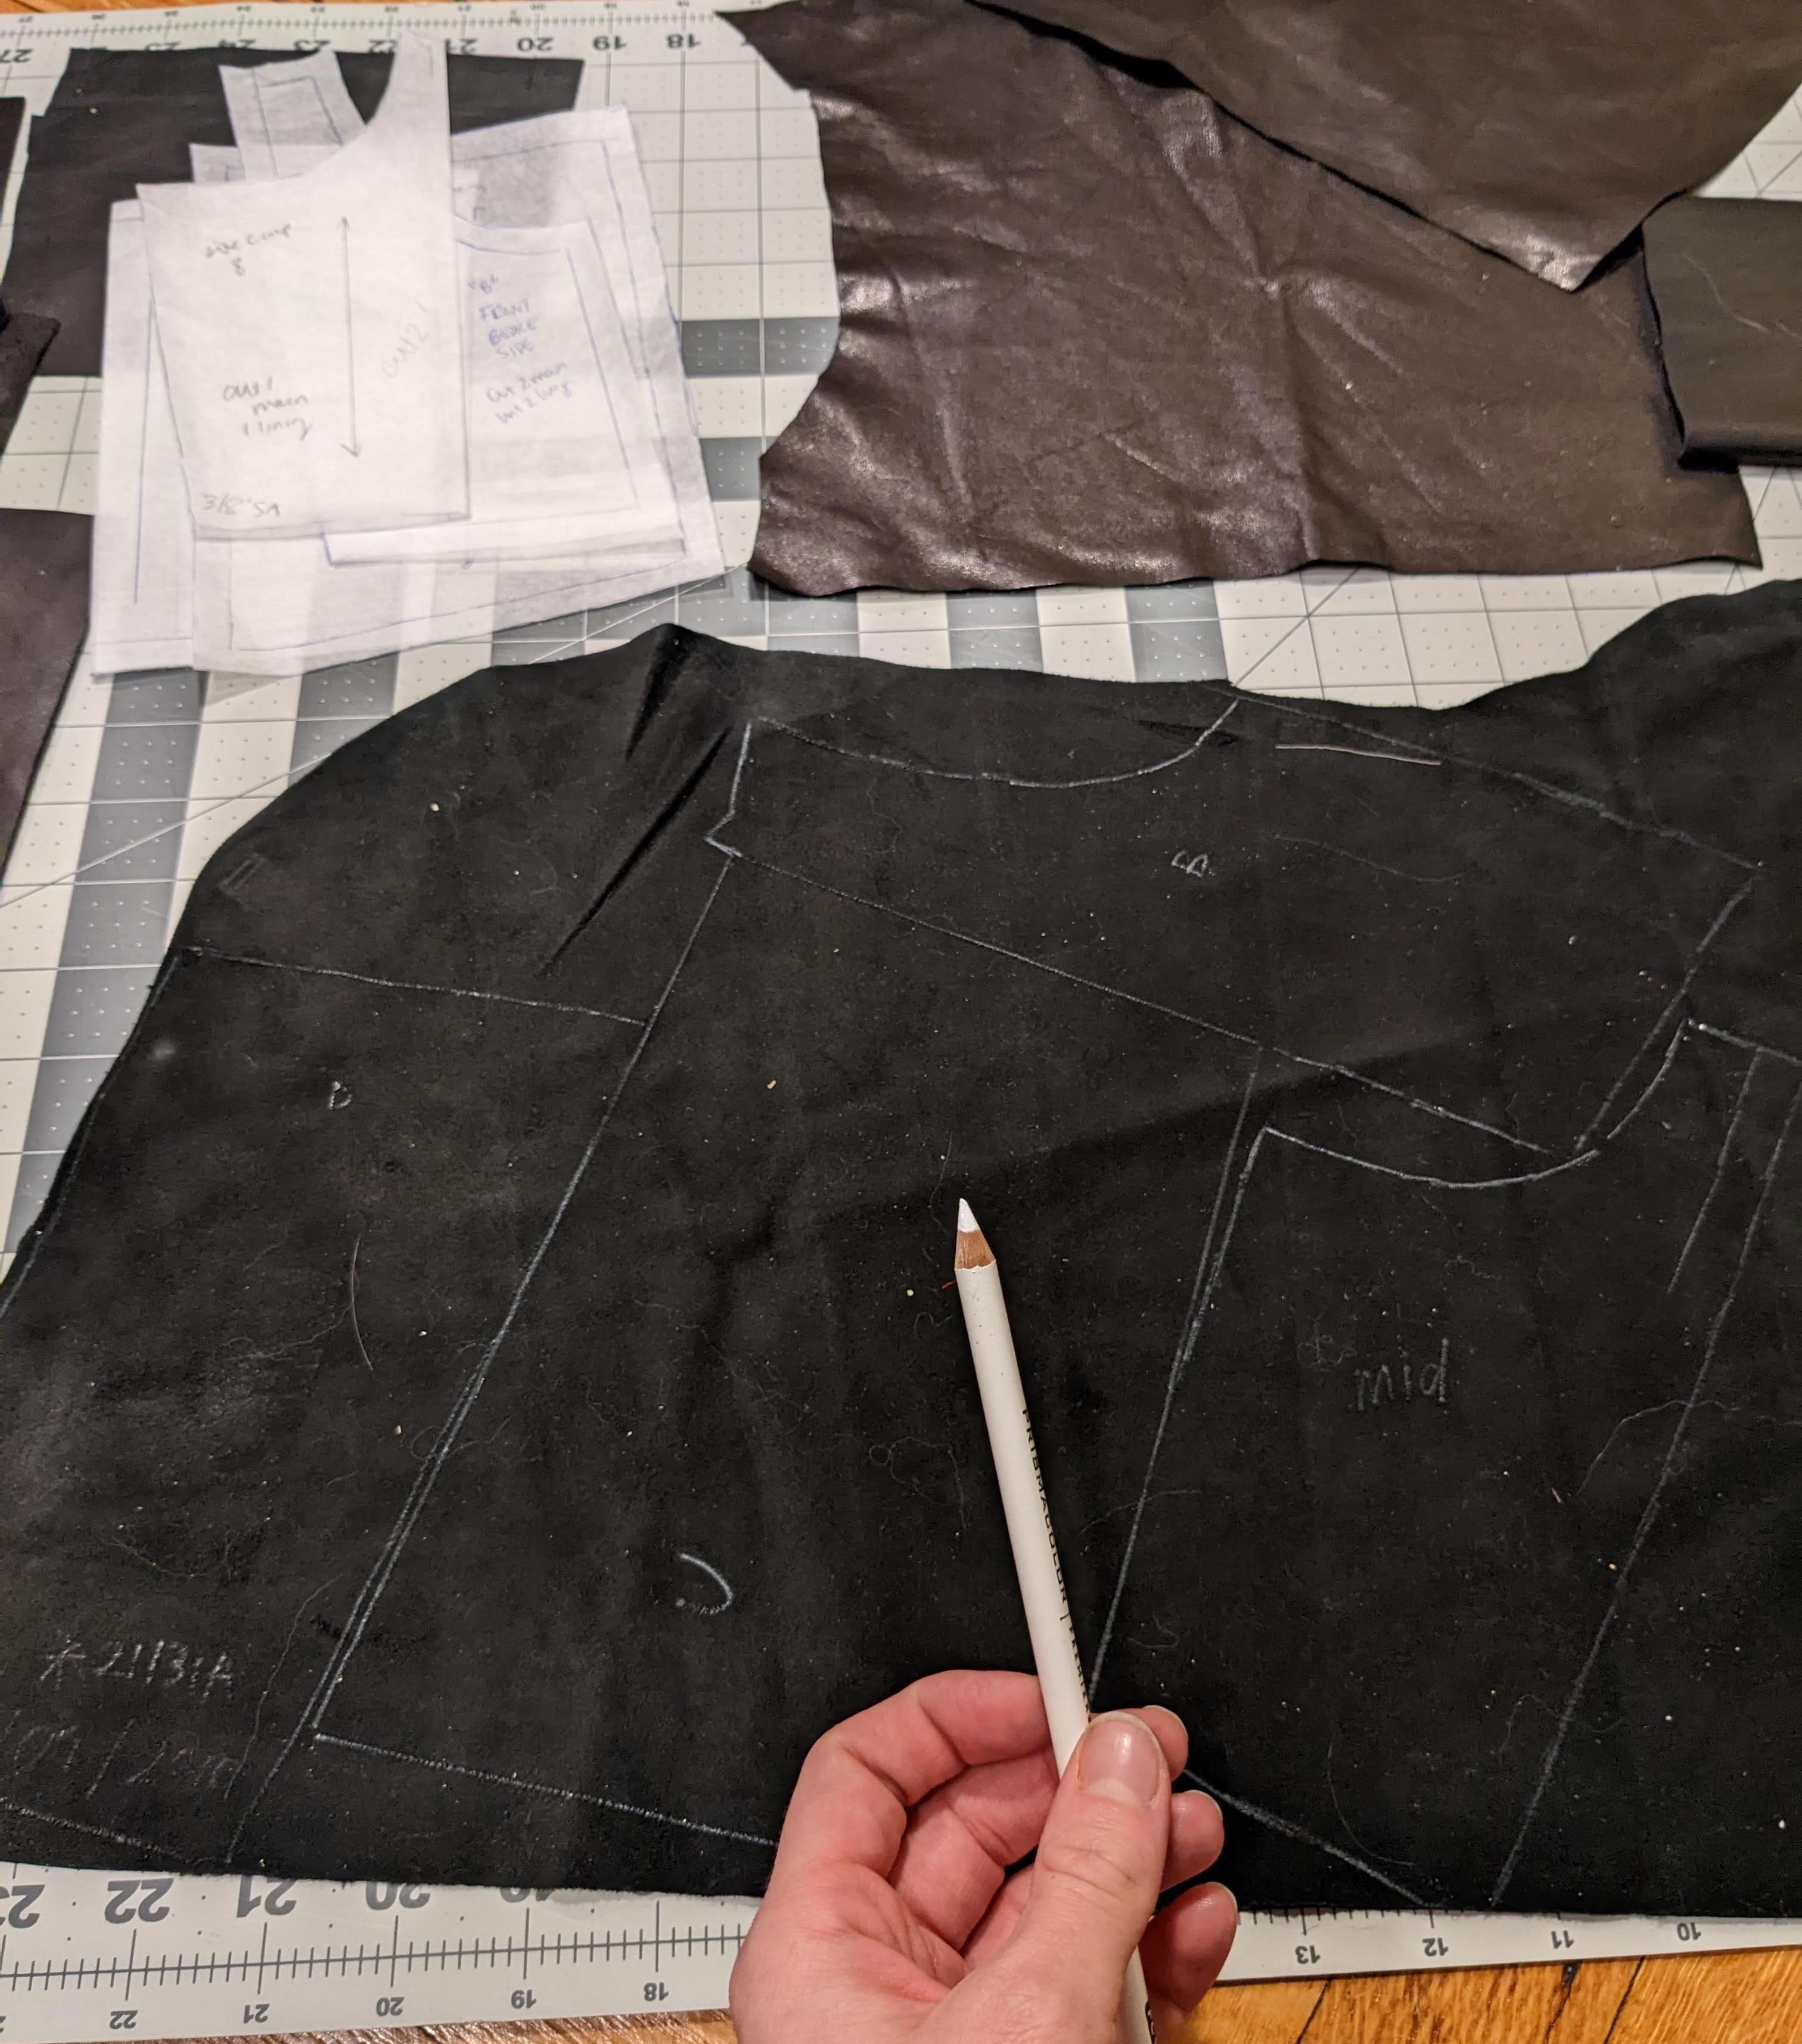
marked pattern piece
To mark the leather, I used a white colored pencil to trace out the pattern pieces. Leather doesn’t have “grain lines”, according to my shoe-making teacher, instead different parts of the animal skin have different levels of stretch (i.e. belly pieces are stretchier because they stretch on the animal). She also said places tend to not give people those pieces? So in general it’s okay to play pattern tetris ignoring grainlines when laying pieces out. But take this with a grain of salt because I am *not* an expert! (If you know more about leather, please reach out to me and correct me if I’m wrong)
What worked for my machine (Singer Heavy Duty 4423) was a stitch length at 3, a heavy duty needle, and a teflon foot. I practiced on a scrap piece of leather folded in half to make sure my machine could handle more than one layer. Once this worked, I sewed the bodice pieces together.
graphic from my insta post
{Sewing the bodice}
pre & post topstitching
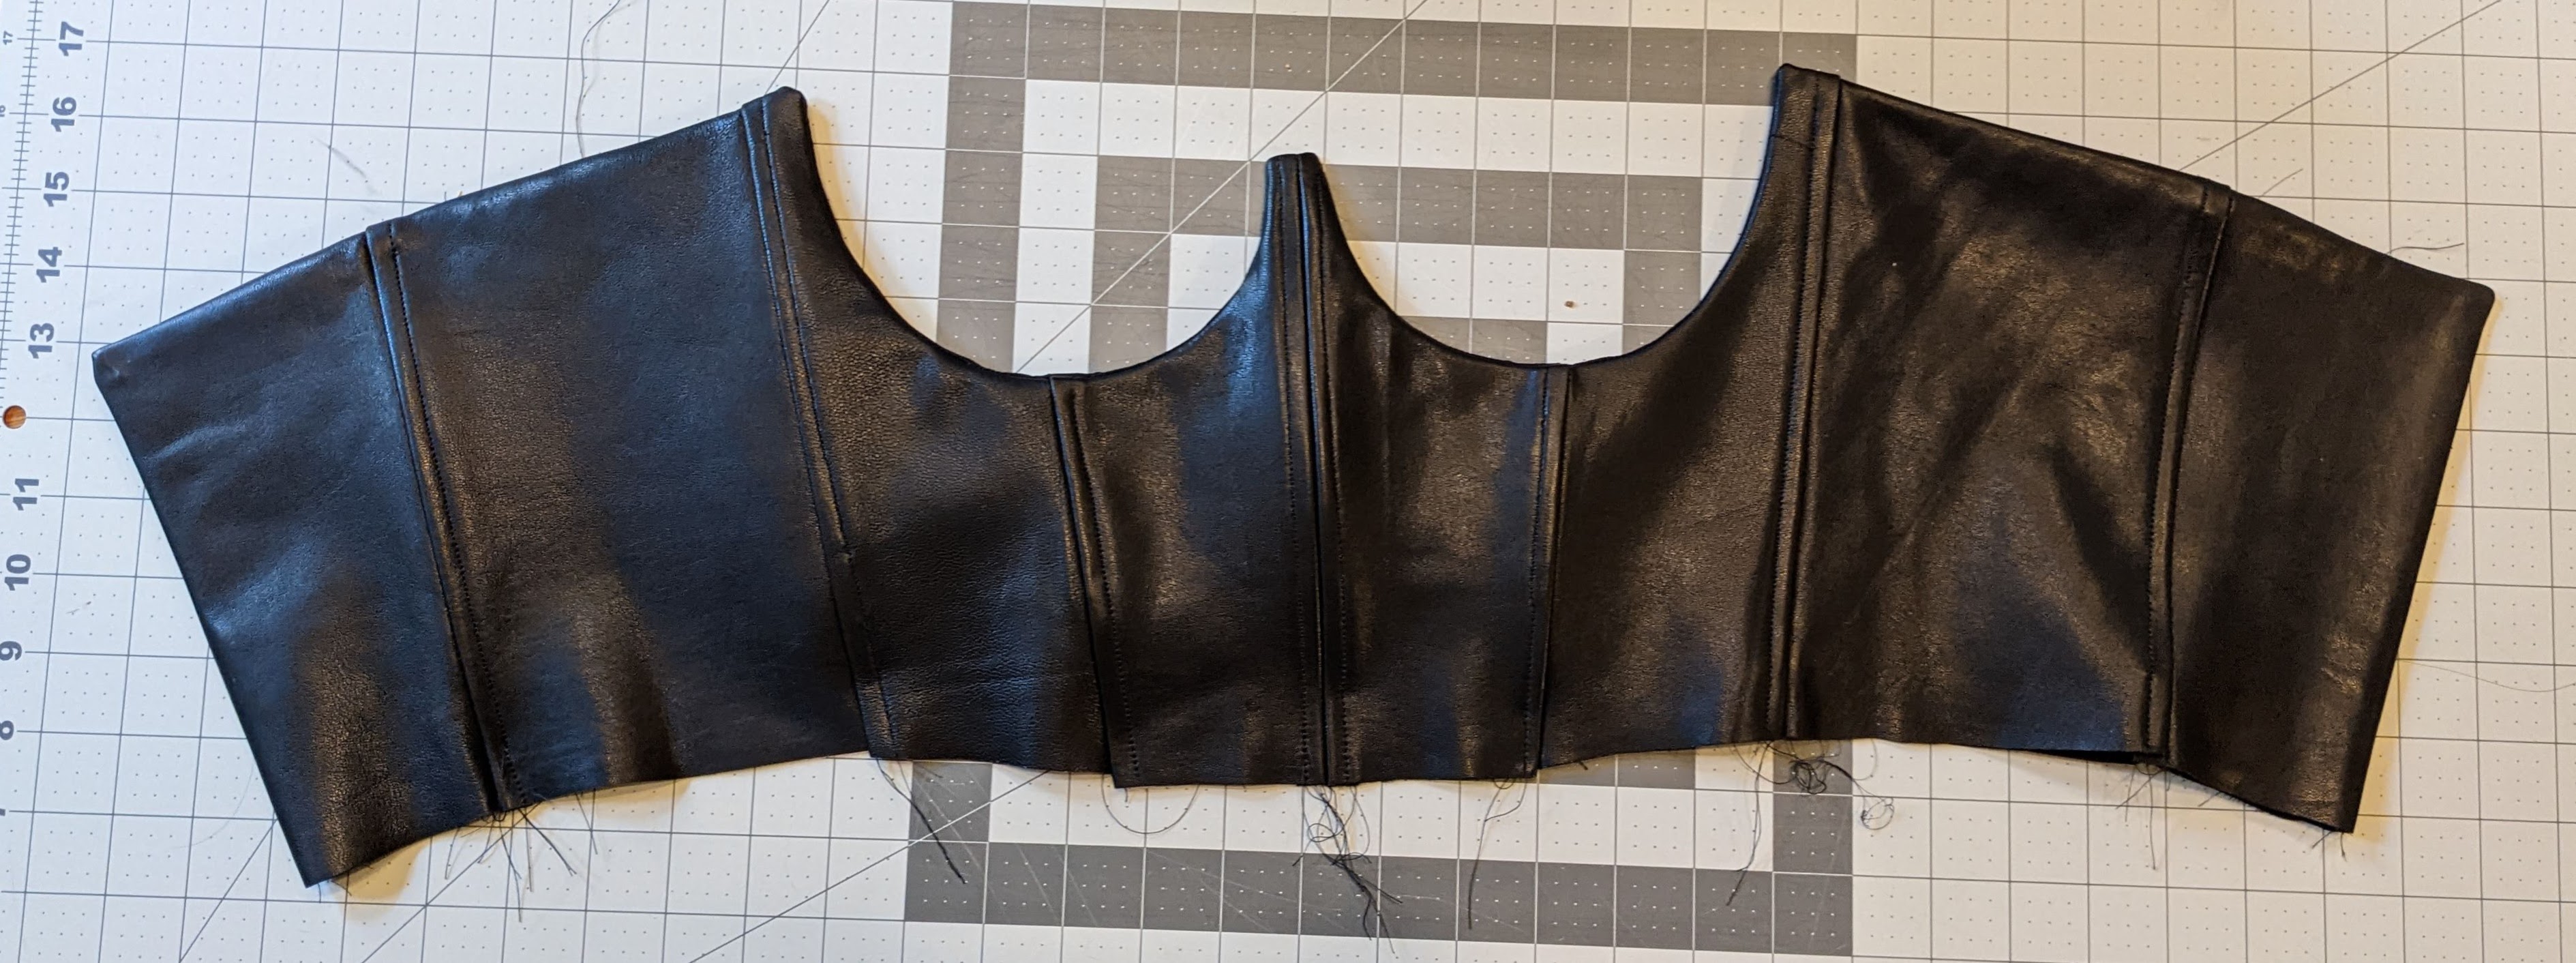
Sewing the bodice together was my FAVORITE PART! The leather was smooth and easy enough to get through my machine. On each seam, I started about an inch in to make it easier to start the seam. When I finished sewing from the inch-in point to the end, I flipped the piece over and started a few stitches before the inch and sewed the last inch to the end. After sewing the bodice pieces together, I sewed the polyester rigiline to the seam allowance, centering it on the seam and leaving about a half inch on either seam edge free of boning. Then I topstitched the seam allowance with the boning into place.
You can see I took off width in the CF piece and it just barely fits the seam allowance on either side!
{Sewing the cups}
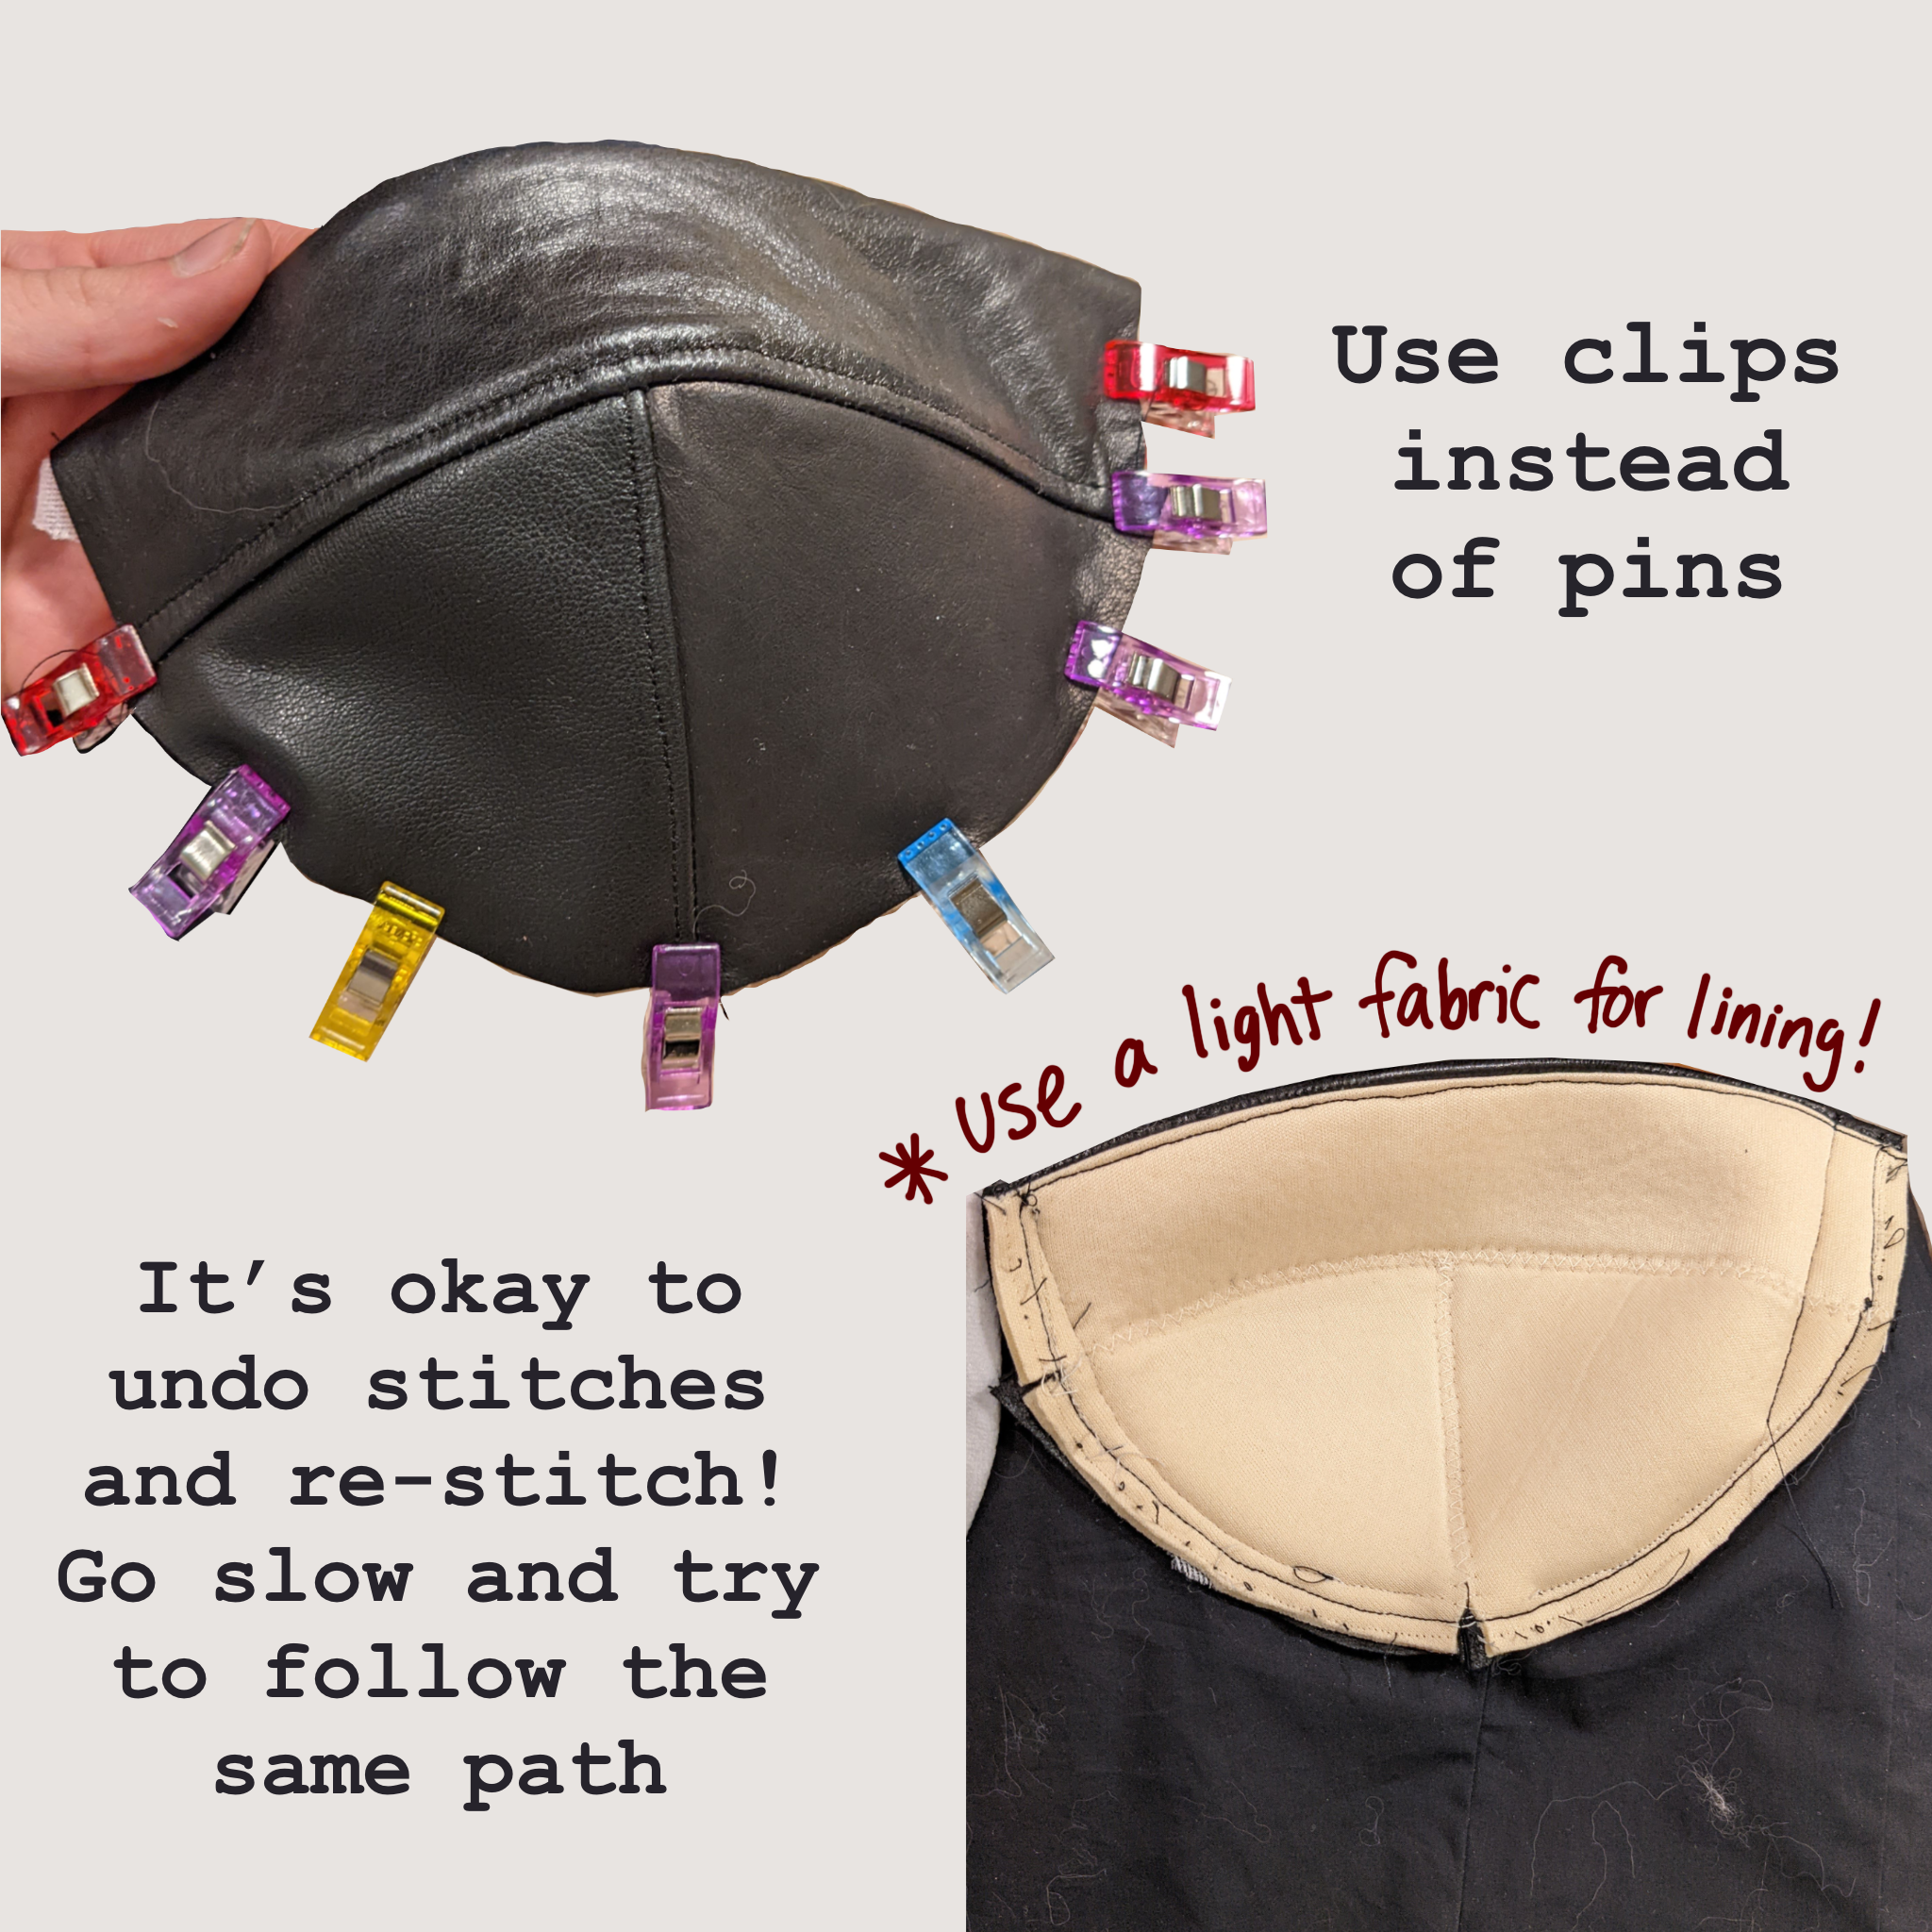
Sewing the cups was next. Constructing the cups themselves was not too hard, but I really struggled fitting them into the bodice without pins 🙀 This time I did remember to adjust the foam cups by taking out seam allowance at the center of the pieces likes Daria recommends in the video, and that made the cups much smoother!
using clips
fitting into bodice
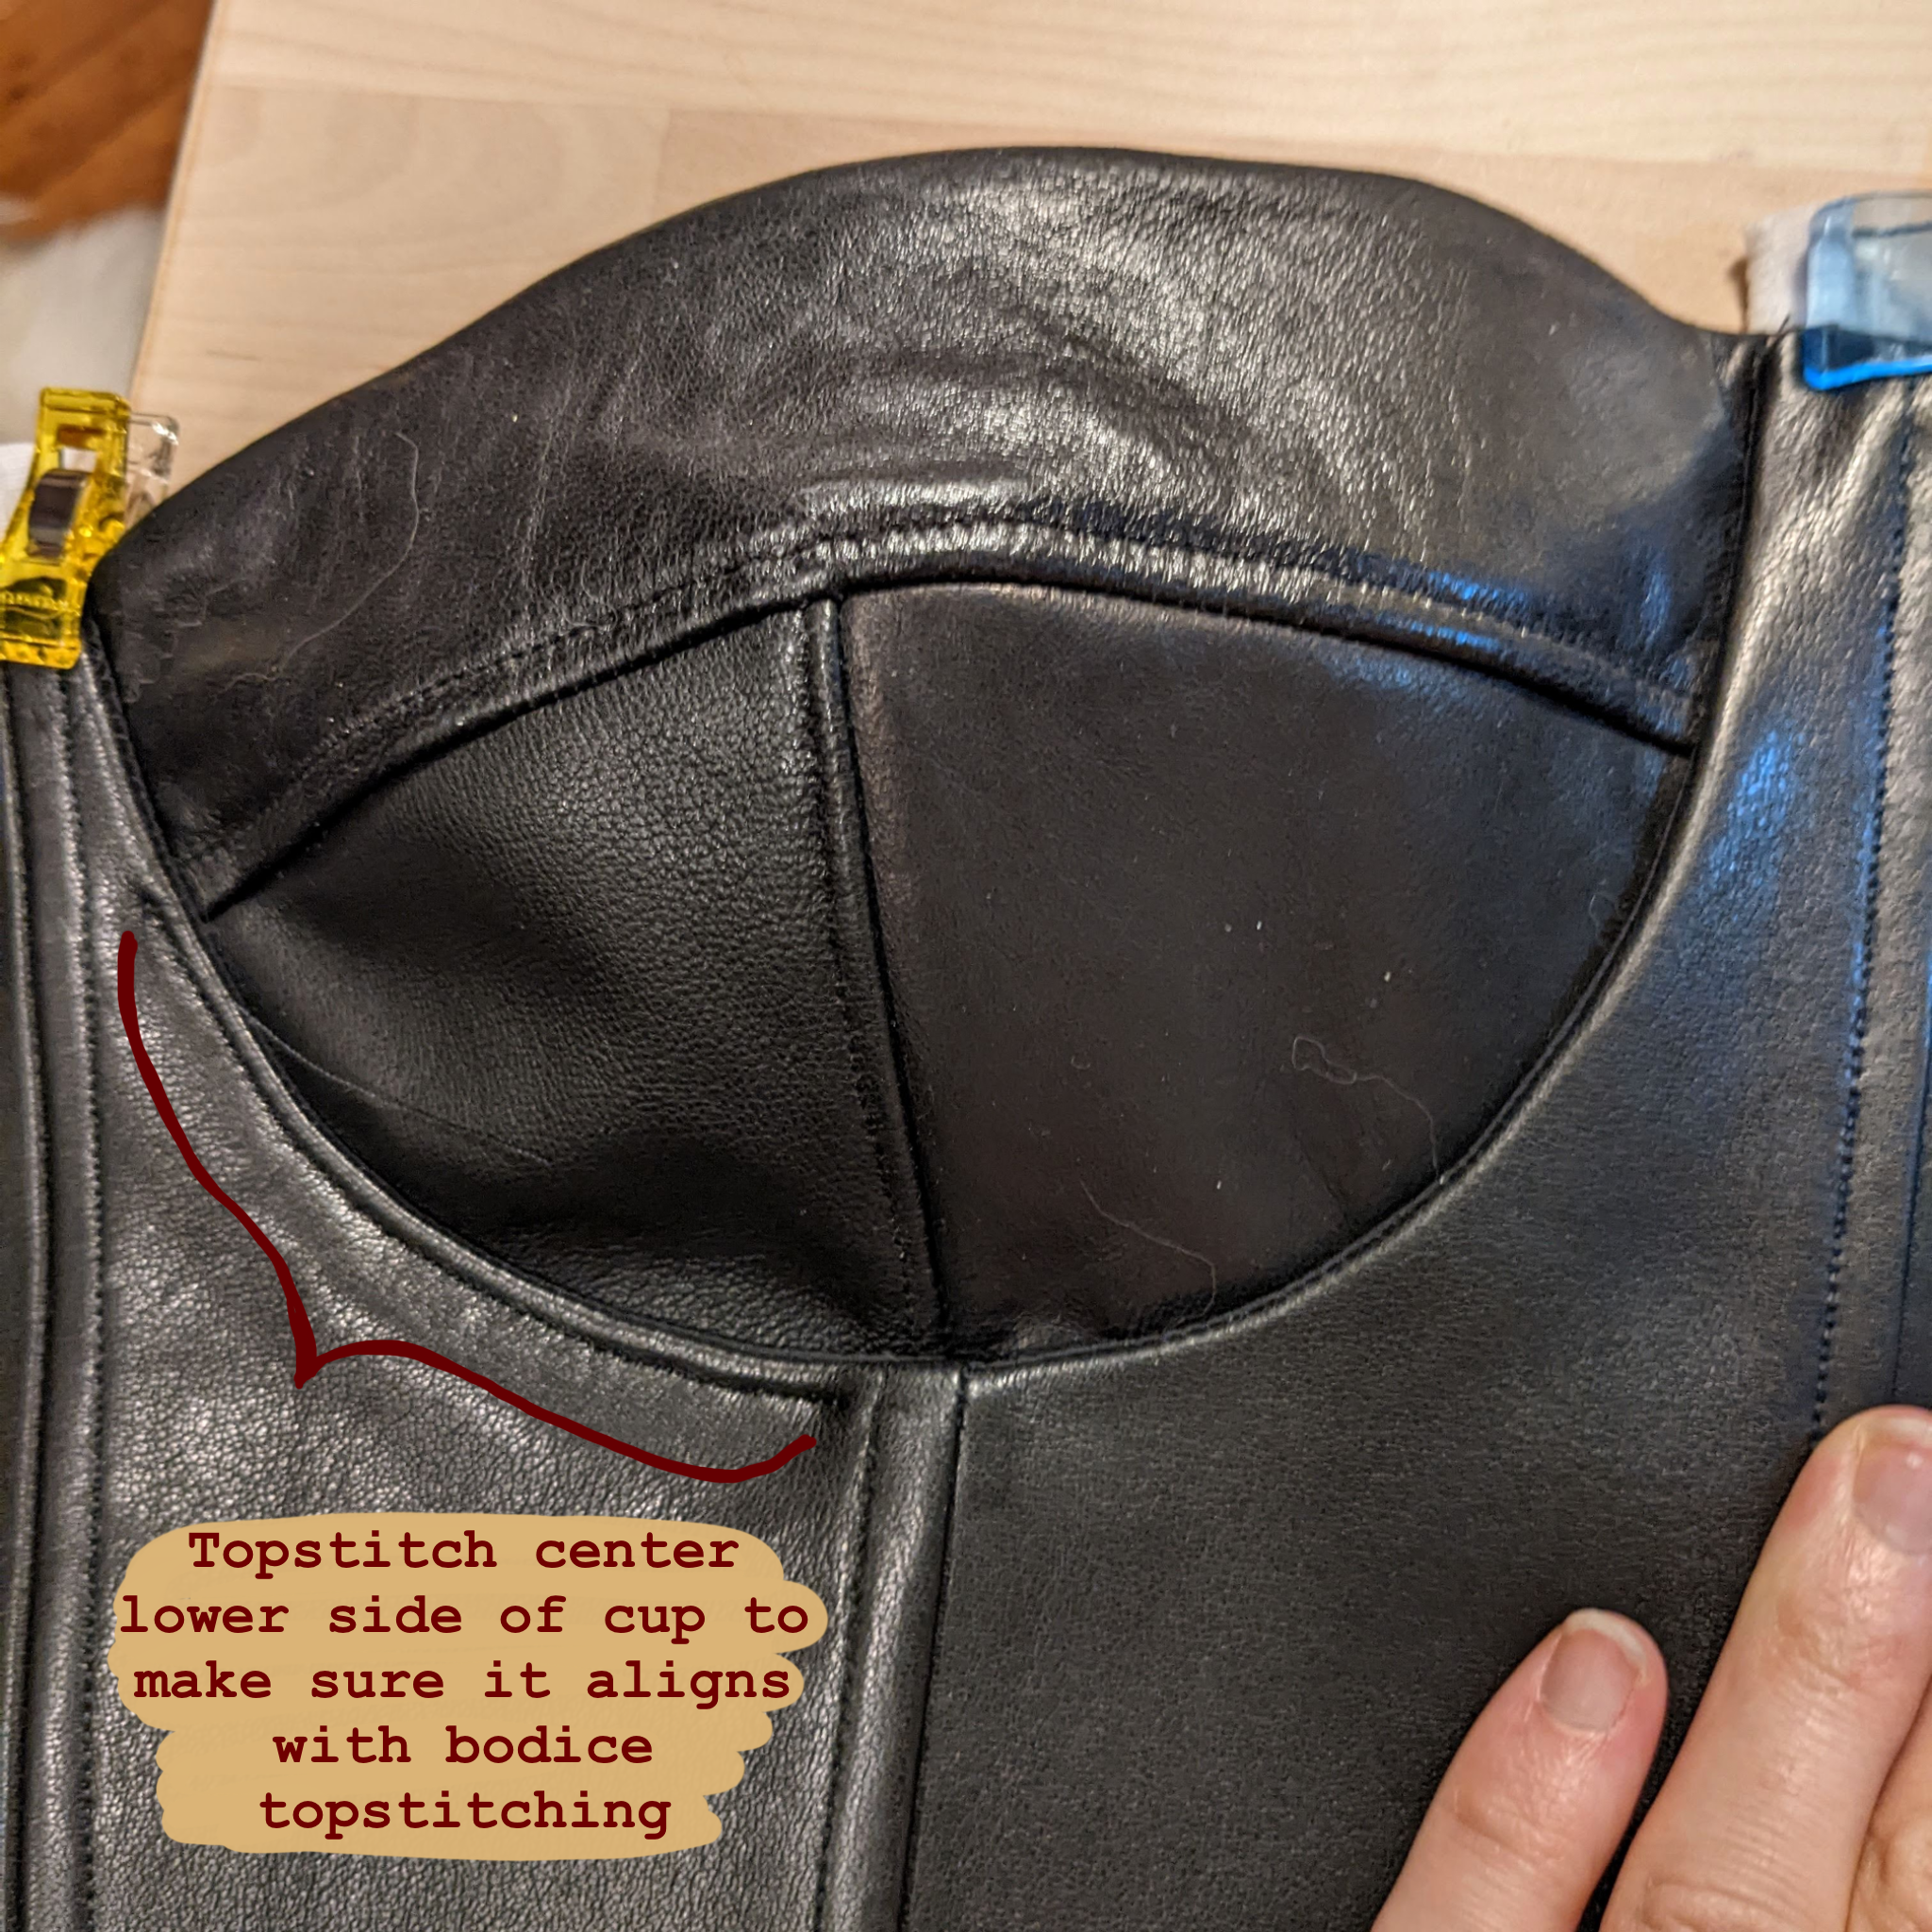
The “hack” that I used on the second cup was to start topstitching the center side of the cup *first* near the point it meets on the bodice to make sure that stays aligned. As you can see in my photo above, the top left/right points of the cup can then be pivoted/maneuvered under the bodice to make them align properly. But if you start topstitching at the top part of both sides of the cup, you have no wiggle room!
I hand-stitched the underwire channeling overlapping the cup/bodice edge. Hand-sewing gave me extra control over where the under-channeling sat, and it let me pick up stitches through just the lining and not the leather.
One of my leather fears was that it had no forgiveness and all holes would poke through. However, when I messed up and had to re-do some topstitching, it wasn’t as hard as I thought it would be to follow about the same line. Just don’t look too closely lol.
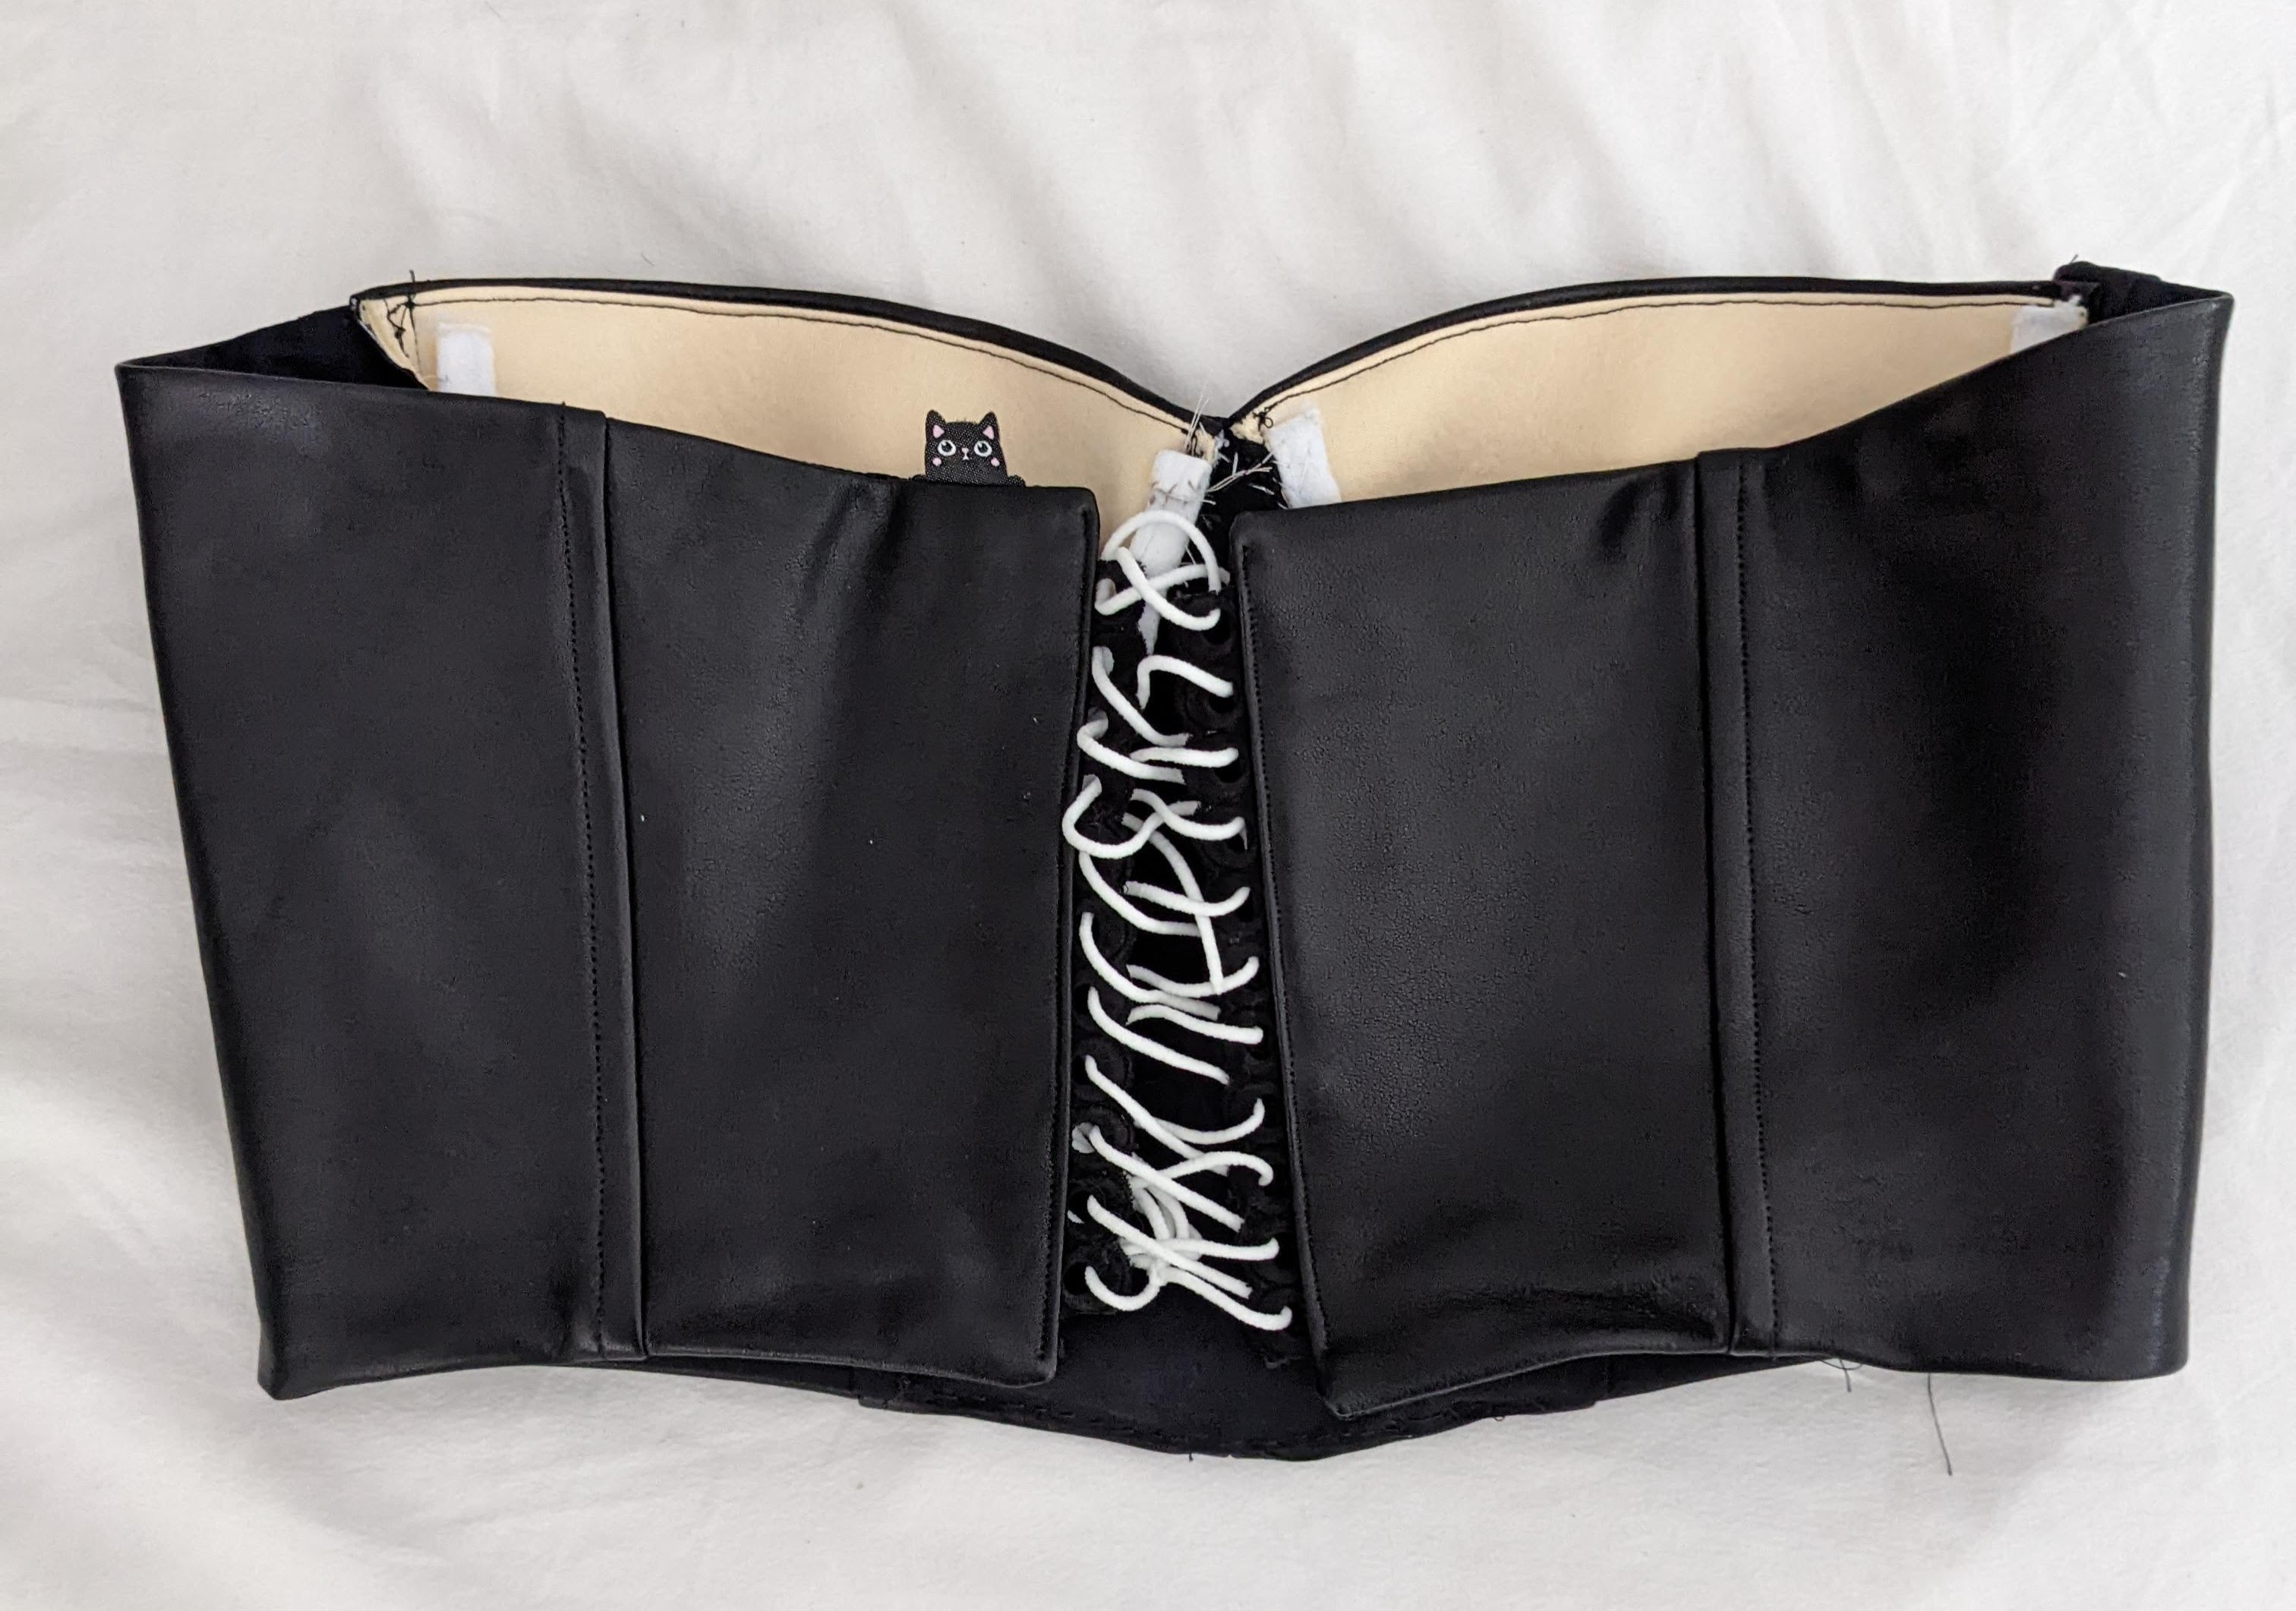
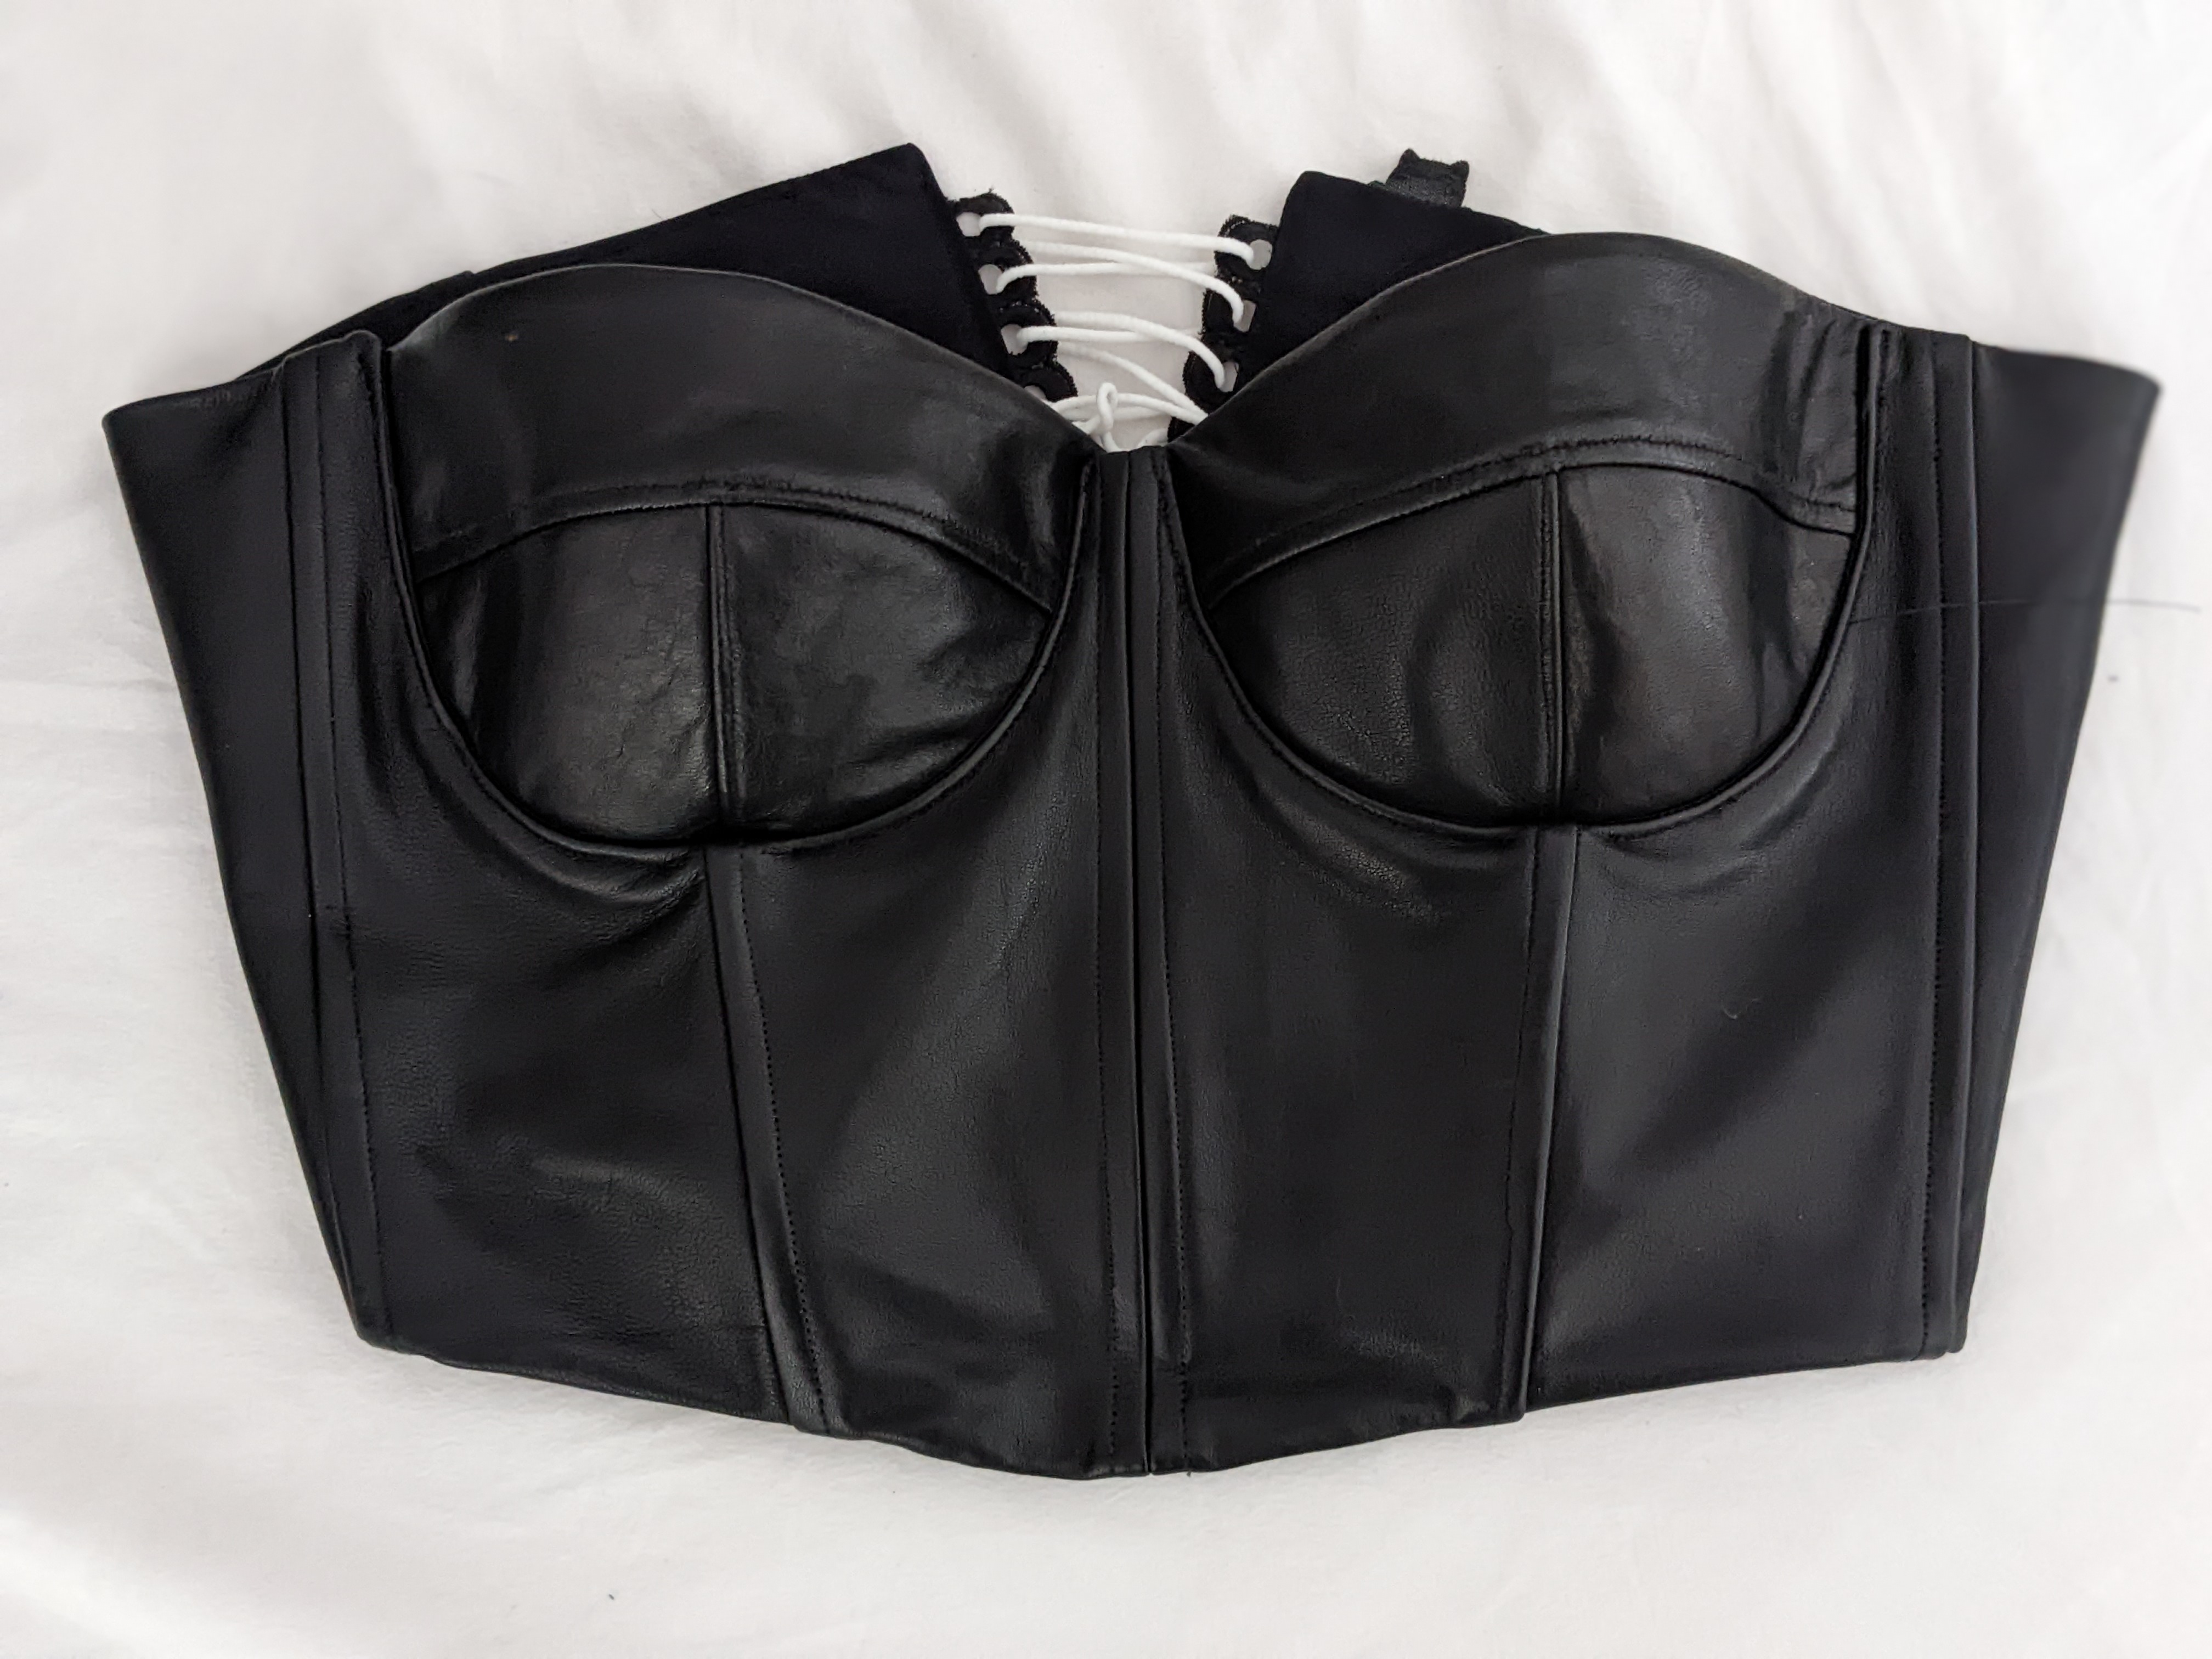
I created the laceup back by sandwiching eyelet trim in between the lining and center back pieces, and I used rolled elastic I had on hand to lace it up. I wanted a lace-up back because I wanted adjustable sizing for something I put *so* much effort into!
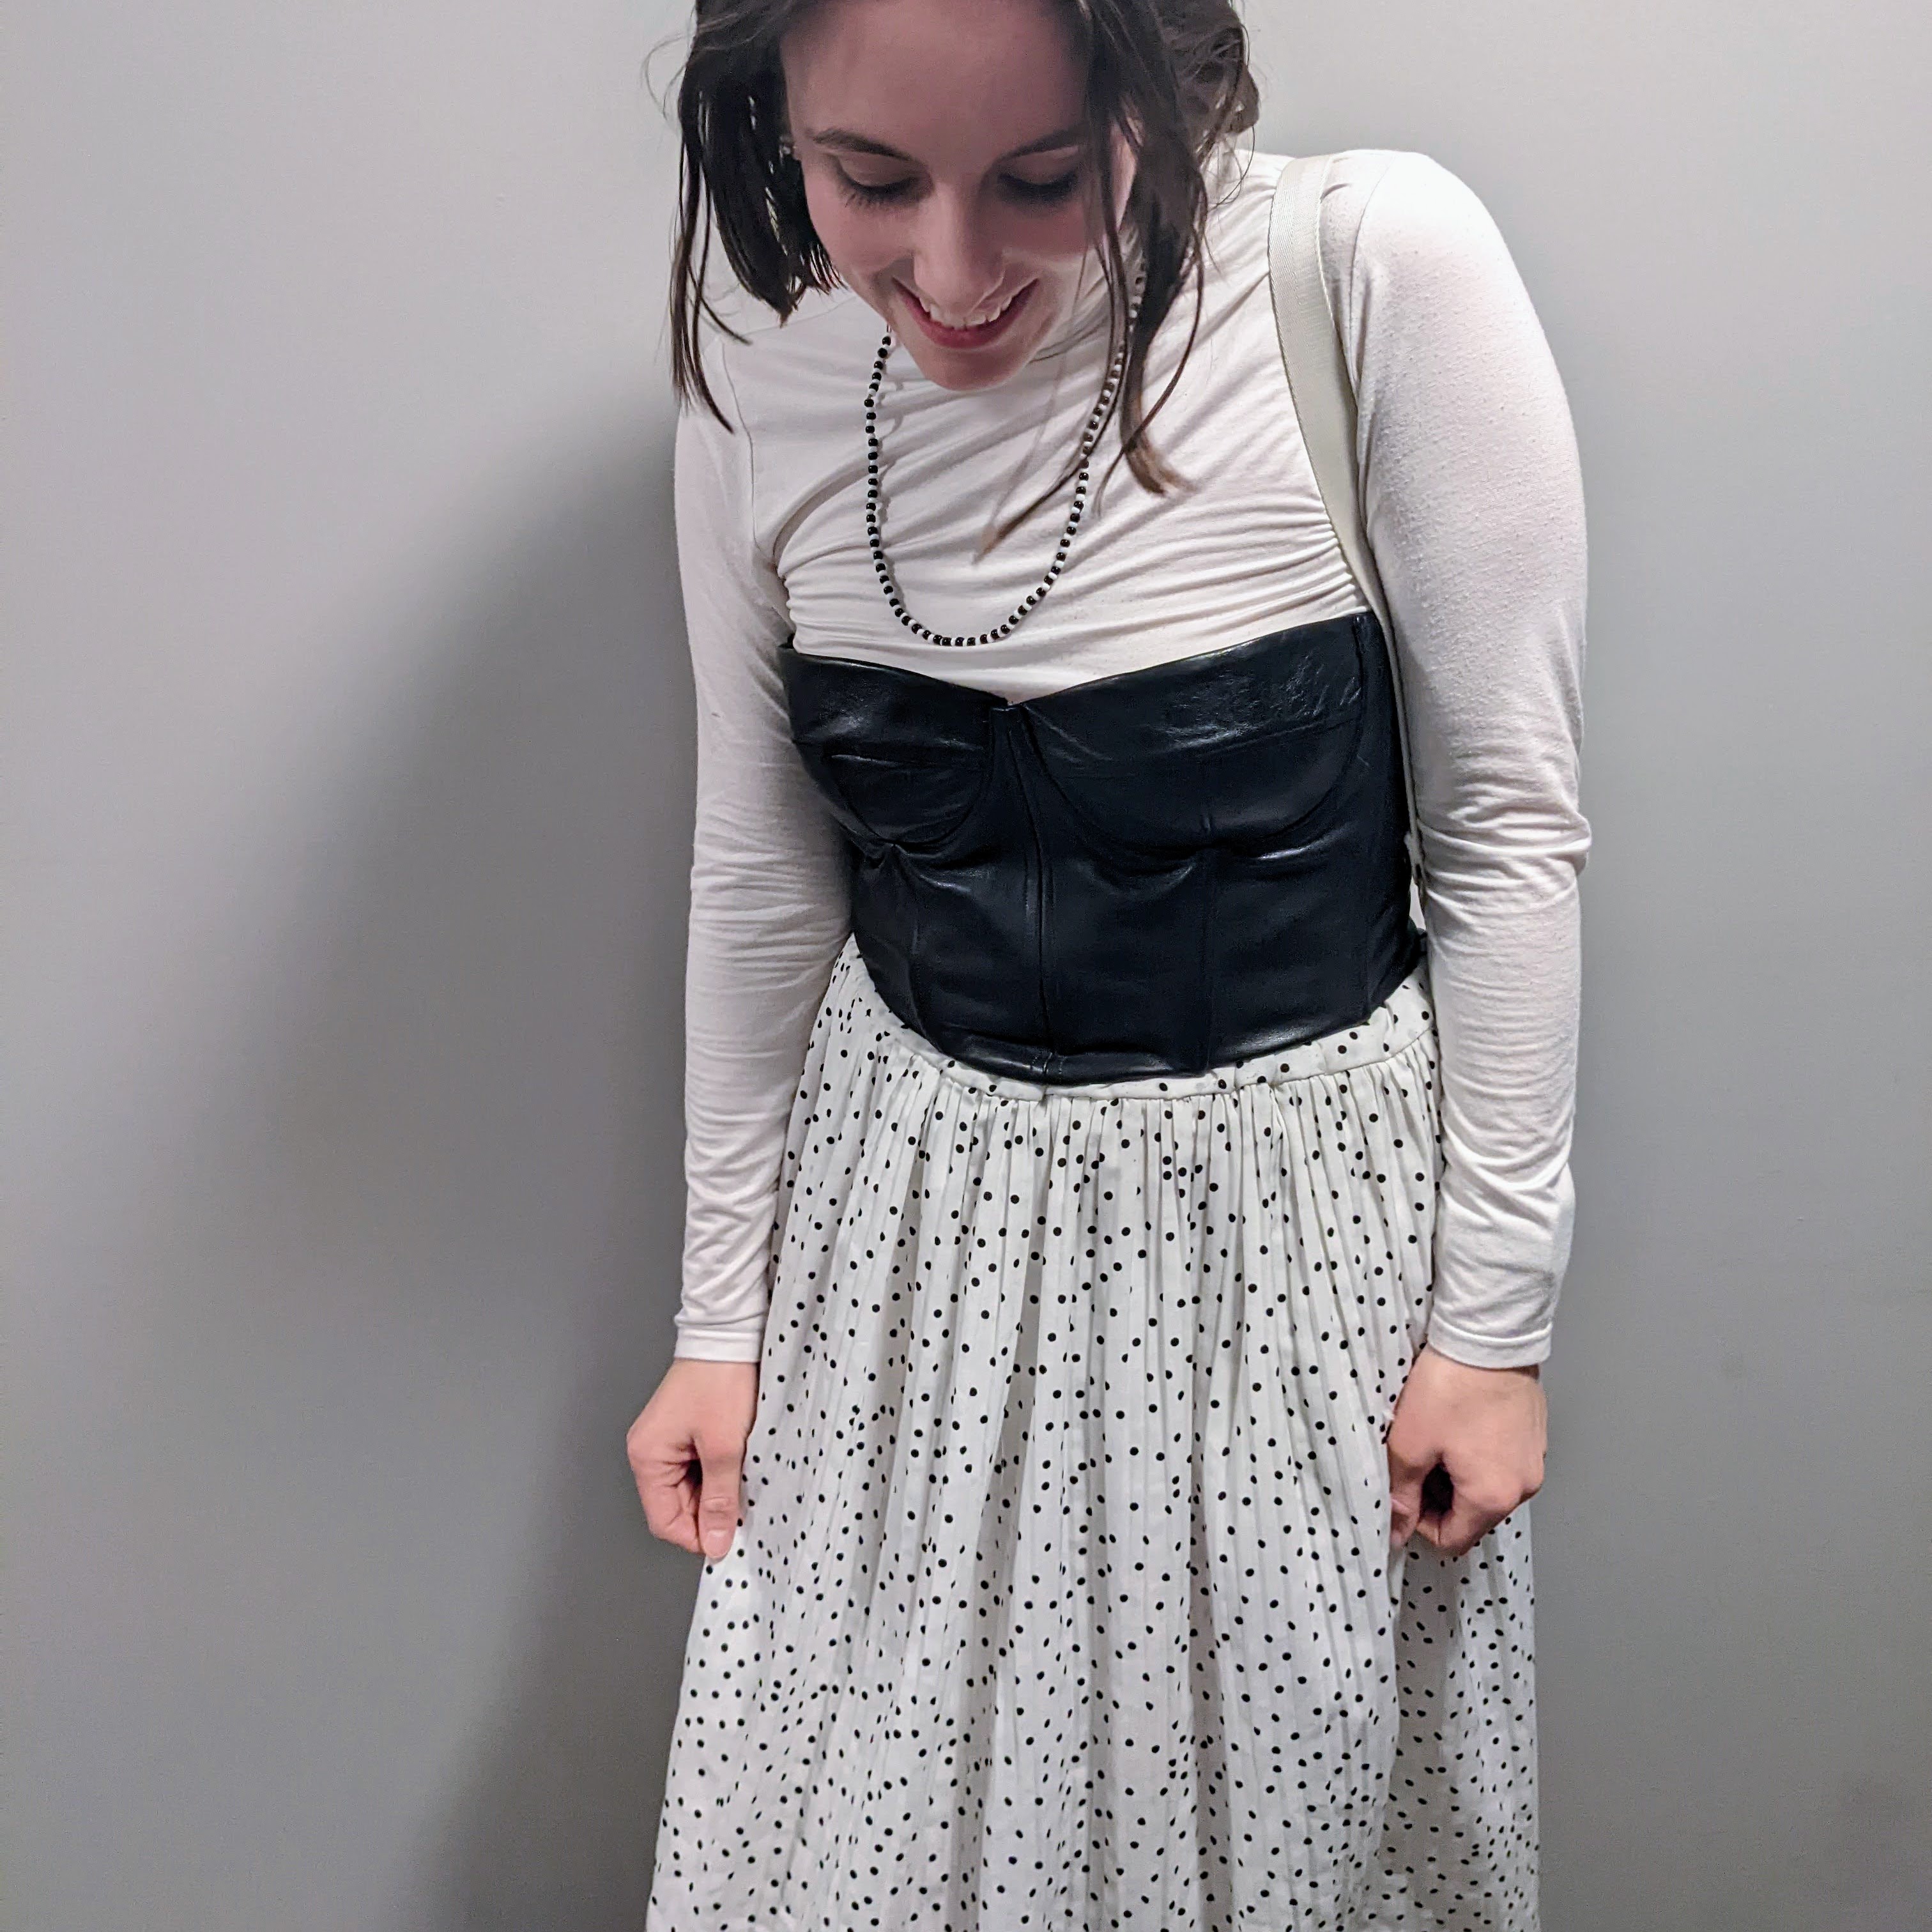
DONE!! I’m excited to play around with how to wear it.
Tools & supplies that helped me
Underwire: Underwire works *wonders*. Toile with underwires & foam if you’re using it. Without underwire, the front gaped a good 3-4 inches from my breast bone. With underwire, it pretty much sits flat!
Try a few different underwire sizes and shapes. I tried the 36 and 38 from Lilypa Designs in "Wide Vertical" shape.
Foam: I used 1/8" thick foam from Lilypa Designs. Thank you @bygraciesteel for giving me advice about what foam to try!
If you're sewing foam cups, make sure to follow this part of Daria's video to alter the cup pattern to remove seam allowance from the center of the cup to reduce bulk & be able to attach them with a zig zag. This construction was so nice.
Boning: I bought Rigiline (1/4” wide) in the NYC Garment District, but it came from a box that looks similar to this
Research about other makes
Before I choose a fabric, or a size (or sometimes a pattern), I like to sift through blog posts and instagram hashtags for the pattern to see if there's any gotchas or notes I can learn from. Here it is!
Analysis/TLDR;
Top of the cups can gape.
Make a toile or two of different cup sizes and baste them in to try different sizes without needing to remake the whole bodice
@dani_sews_ - " I was a little bit intimidated at first, not gonna lie. I did a toile, adjusted the cup by taking it in by 1cm in the middle (as explained in @lore.piar reel, thank you ❤️) et voila! It fits like a dream 😍 I made a size 32 with a B cup, following my measurements. I widened the side panels by 1 inch, modified the cup slightly and shortened it by 1/2 inch as it’s a top. It’s closed with a lace up back, has foam cups and boning along the seams"
@vrouwlijn_wonderlijk - "I made a size 38 with a C cup and lengthened the body by 6cm. [...] Even after stay stitching and using fusible interfacing, the top edge of the cups were gaping a little bit. I added some elastic (from an old bra-kit I bought ages ago) to the inside and handstitched a lace ribbon to the outside and that did the trick. Furthermore, I attached two straps to give some extra support 😉. All in all, I think this is an incredible pattern and the designer offers a great video tutorial in case the written instructions aren’t enough."
Boning & underwire make a difference
@sandeepbeep - "For some silly reason I only toiled one foam cup, but perhaps I should have toiled them both because my dress zip popped on my final garment and that’s mostly down to using a cheap zip, but also there’s a chance it may have been a bit snugger than expected. More on that later. In this series of pictures you can see 1. Without boning and underwires. 2. With boning, underwires and one added foam cup. I don’t think I’m too fussed by having foam cups. I definitely need it on the lilac dress as the fabric is sheer and light, but if I were to make the dress again, which I plan to do, then I’ll probably skip the foam cups next time."
@britasews - "I made it in a 6D. This is my third go at it (two toiles before this dress) so there were a few fitting issues I needed to iron out: mainly the upper cup needed about 2cm taken out and some tweaks to bring the bodice in a little. As per a lot of versions I’ve seen on here, I added the centre front seam, boned every seam, and added foam and underwire to the cup. Also, since this viscose is very drapey and quite light and shifty, I underlined the bodice in calico."
Many sewists posted alterations/fitting journeys:
@seriicis Documented her fitting process in her stories. This fitting journey motivated me to get started fitting my bodice!
@amytlong describes the three versions she made in her fitting process.
Don't skip interfacing!
@bdhandmadeottawa - "I previously didn't understand the type of interfacing used on the bodice because I had never worked with interfacing like that before. The pattern designer said it's sometimes called tailor's interfacing but I found more success with the term "weft interfacing." Next, I learned my lesson to take the designers word as gospel. Do not skip steps. Use interfacing, use stay tape. I even tried her method of inserting an invisible zipper and it's wonderful. Trust her! In addition to the instructions, I watched the YouTube video, and the hack video for foam cups/underwire. I definitely think the foam cups and underwire are necessary for me (personal preference)."
@m.e.r.ma.id - "Here's my 5th #rosecafebustier 🥰 I removed 1/2 cm from the upper cup piece to reduce the pointiness of the cups. They are still a bit pointy, but two rows of topstitching did the trick. I made sure to interface both the lining and main cups with medium-weight interfacing since the fabric is lightweight. I usually have the best result when the fabric is more on the medium/heavy side, but interfacing the cups helped."
Thanks for reading my second blog post on Sew Like Honey! I hope this was helpful in your making journey :) I haven't built in comments or a "message me" feature yet, but if you have any feedback, please share it through my instagram @sew.like.honey.
Special thanks to my friend Michelle for designing my sewing honey bear logo 🍯🐻

 📍New York, New york